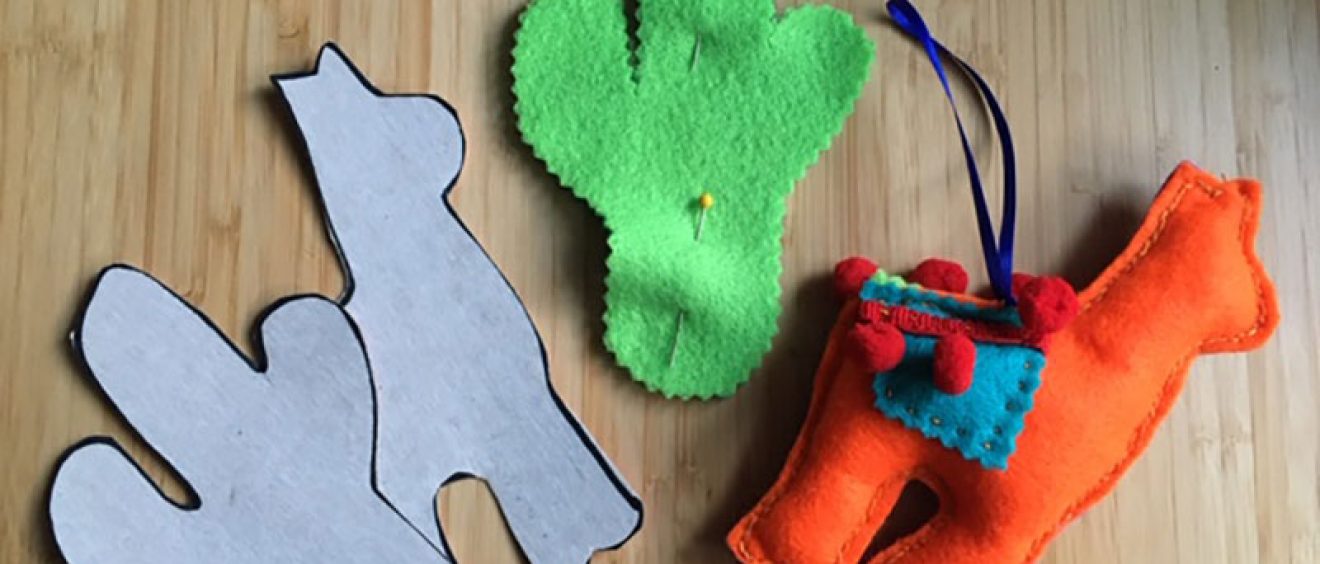
Felt llama and cactus
N.B. We have used felt because it does not fray at the edges when you cut it. SAFETY: the finished llama and cactus are NOT suitable for giving to children under 3 or pets.
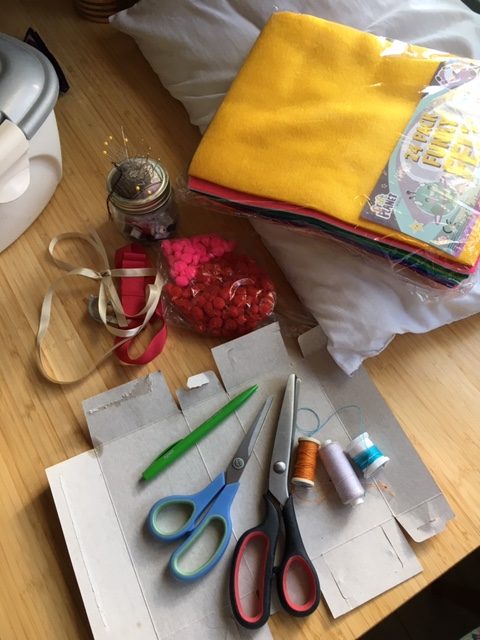
You will need:
- Sheet of card for your template – use a cereal packet
- Scissors
- Pens – felt tip or biro
- Sewing thread
- Needle
- Pins
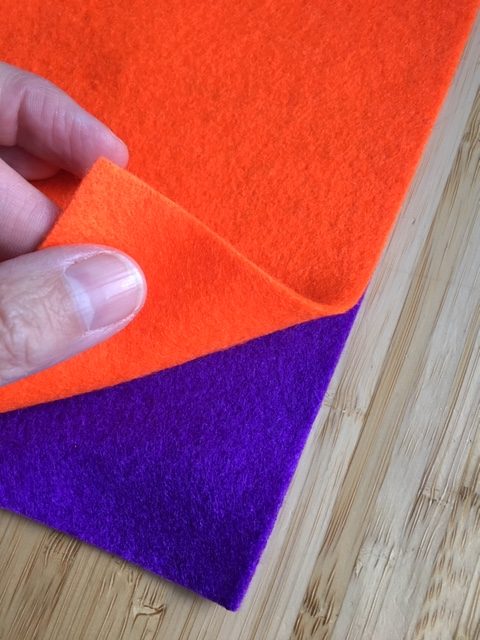
- Felt
- Wadding
- Ribbons, spare buttons or other decorations
Instructions
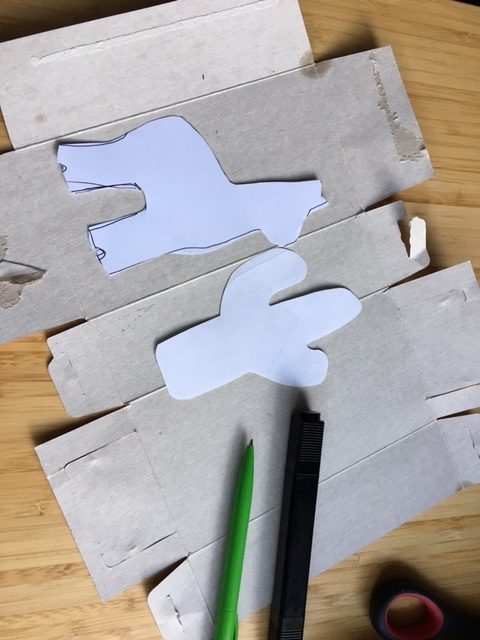
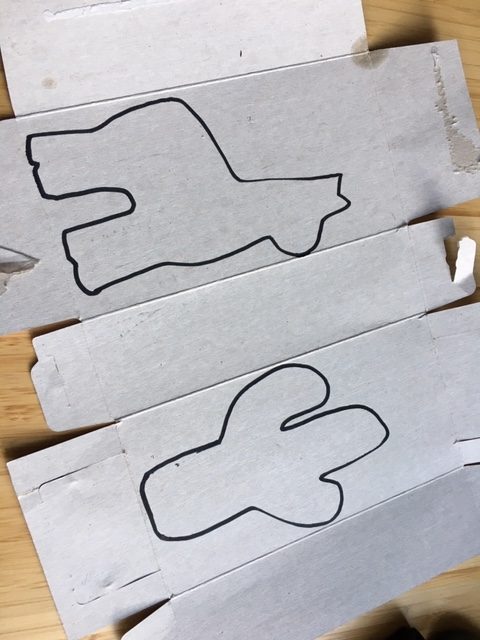
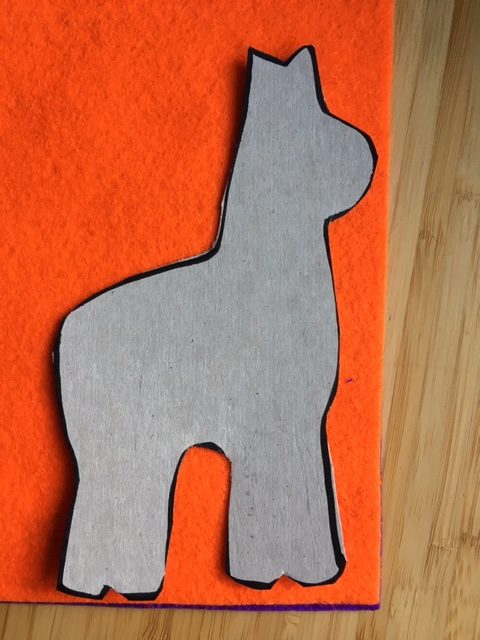
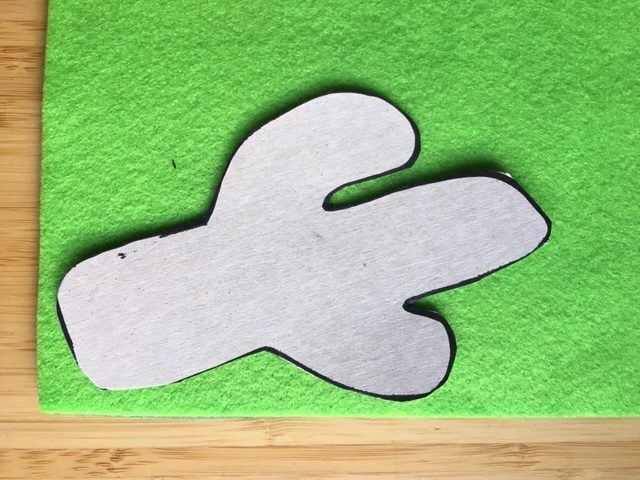
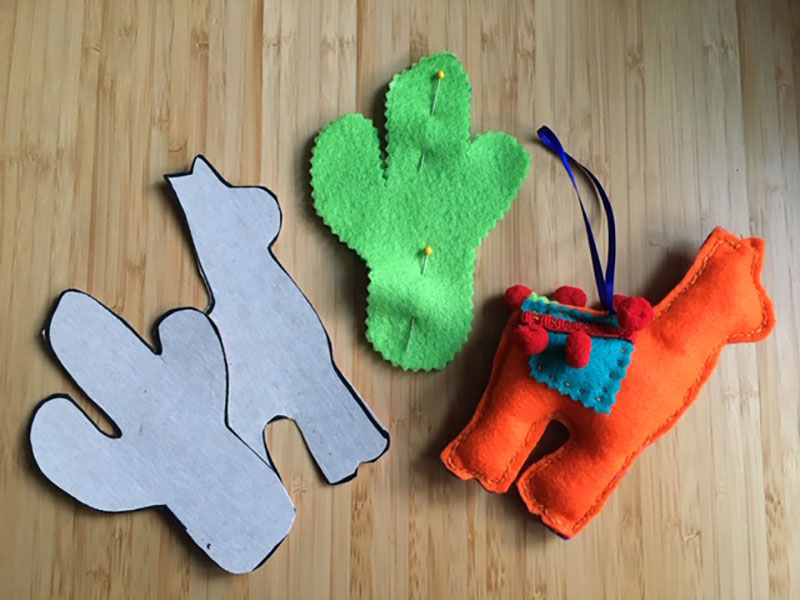
1. Draw the shapes you want onto paper or print them out from the template below. Cut them out and copy onto card to make a template.
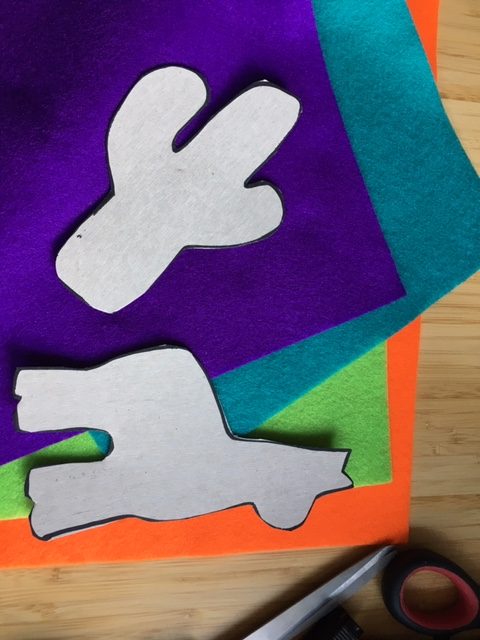
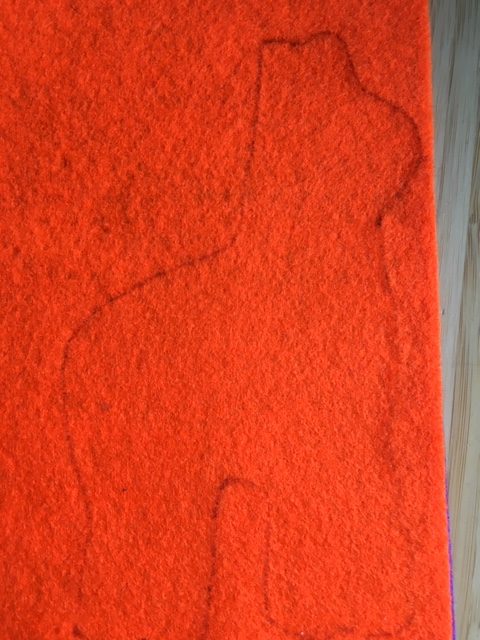
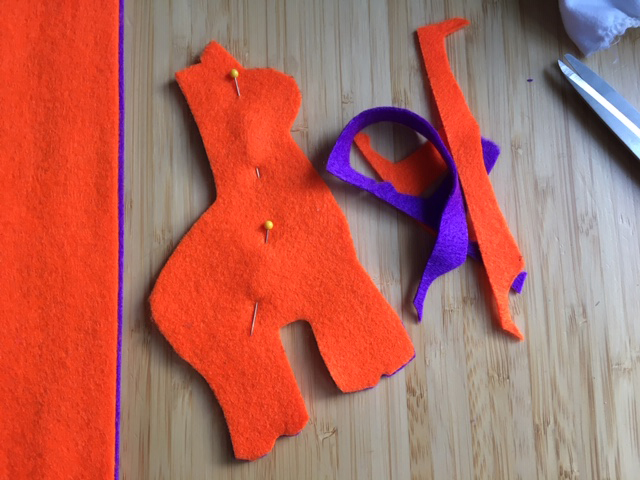
2. Choose two pieces of felt for each shape. Pair them together, draw round your template onto the felt. Pin the pieces together.
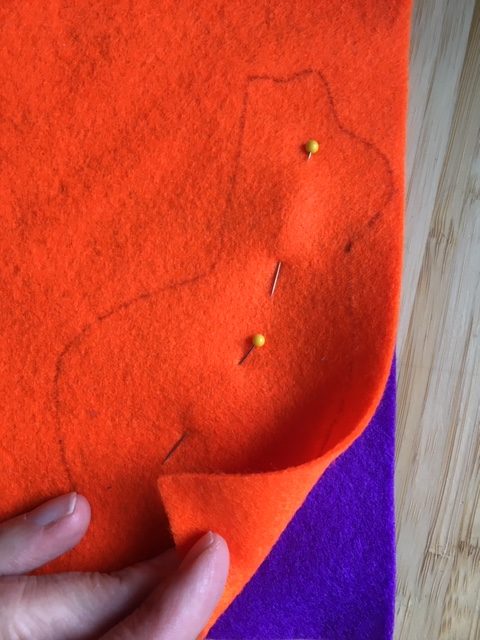
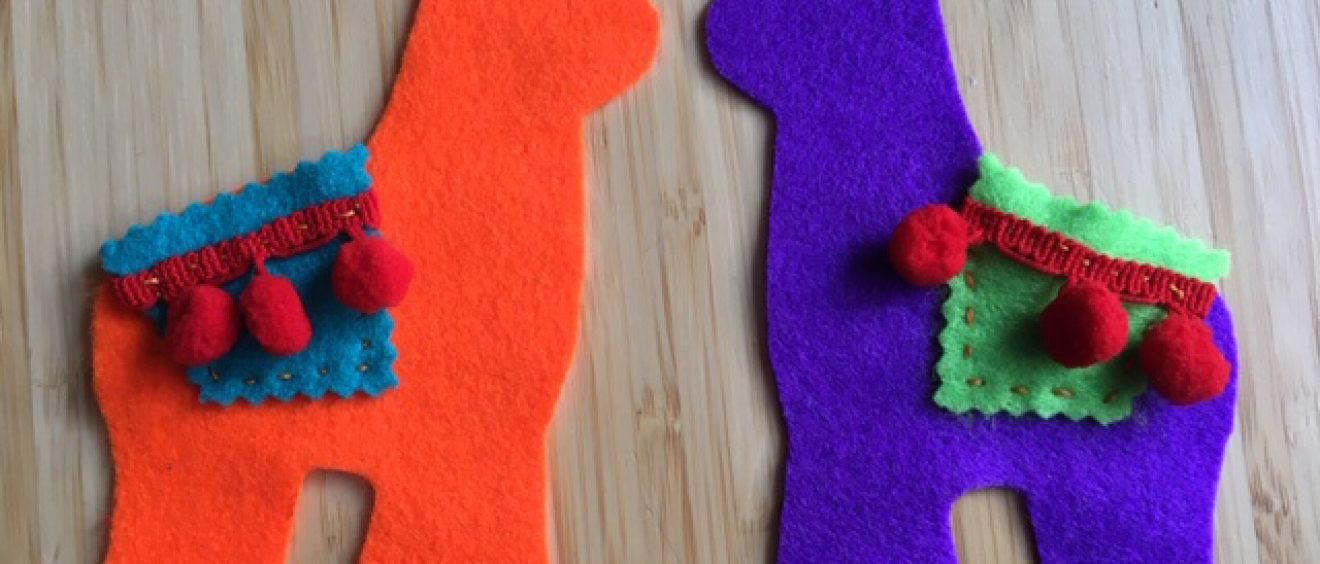
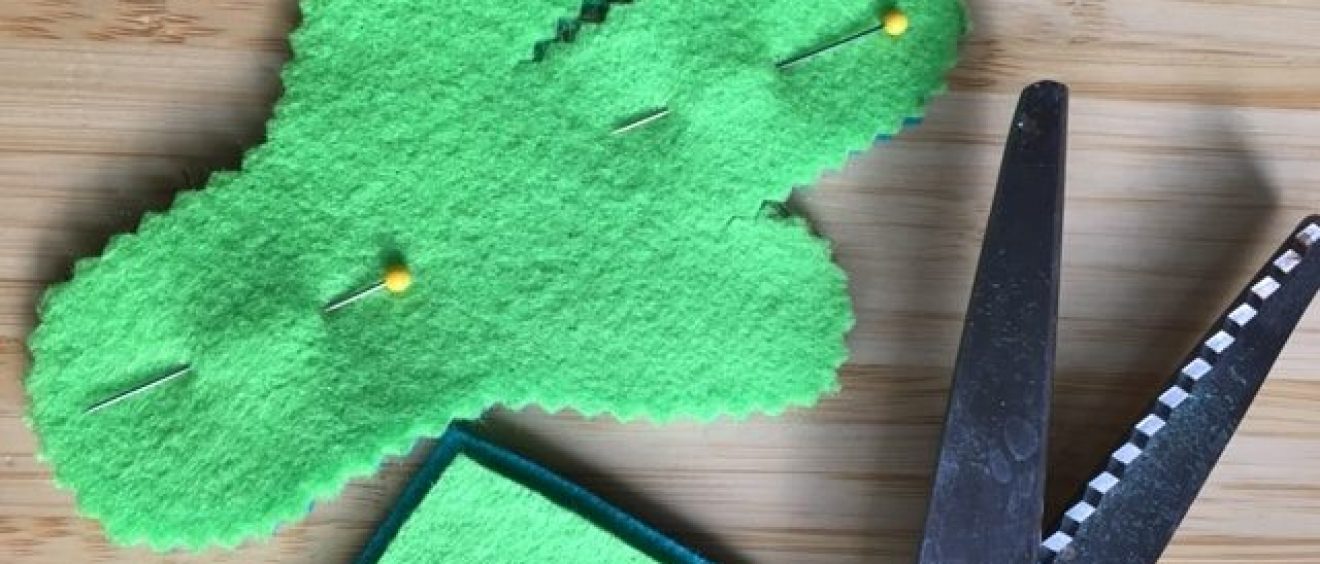
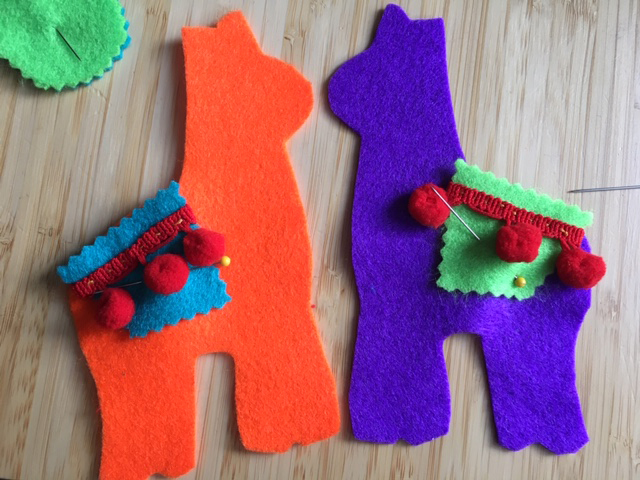
3. Cut carefully around the line to cut out your llama. Repeat with the cactus – we used pinking shears to make a crinkly edge for the cactus. Cut a spare pair of felt shapes for the saddle blanket for the llama.


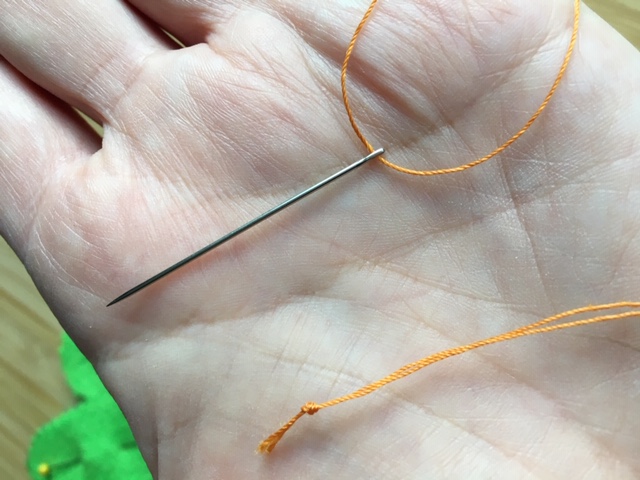
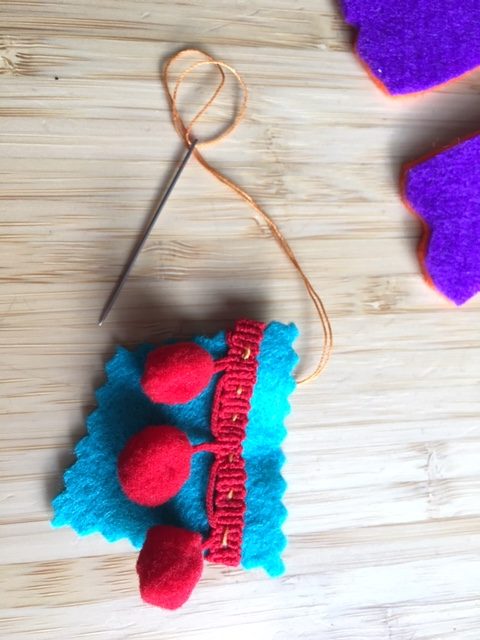
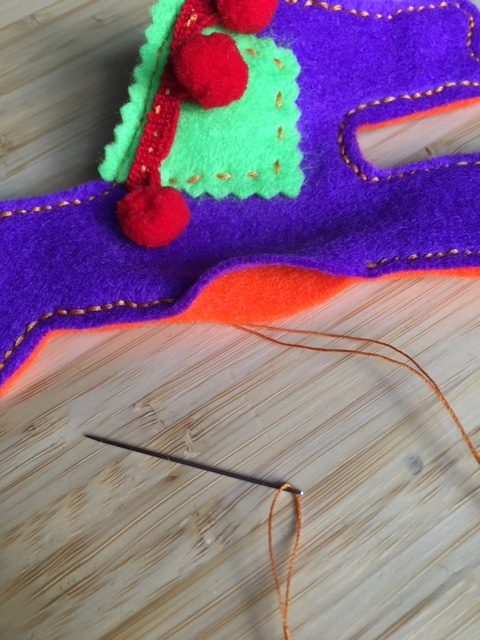
4. Choose some ribbon or other decorations for your llama. Thread a needle with sewing cotton. You can choose a colour to match the felt or to contrast it. Pull the thread through the needle and tie the end with a knot so it is double thickness.
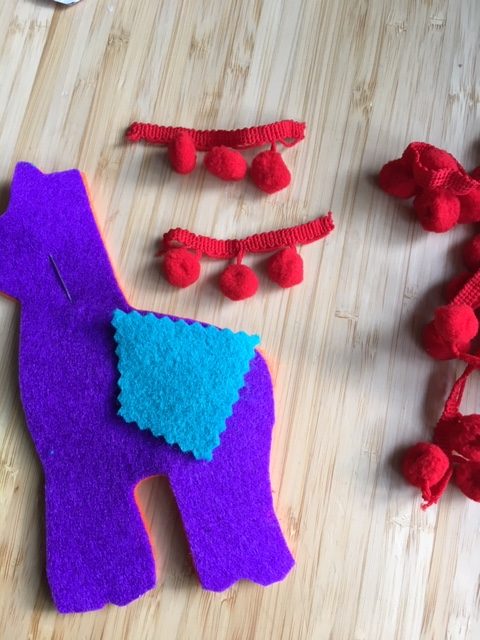
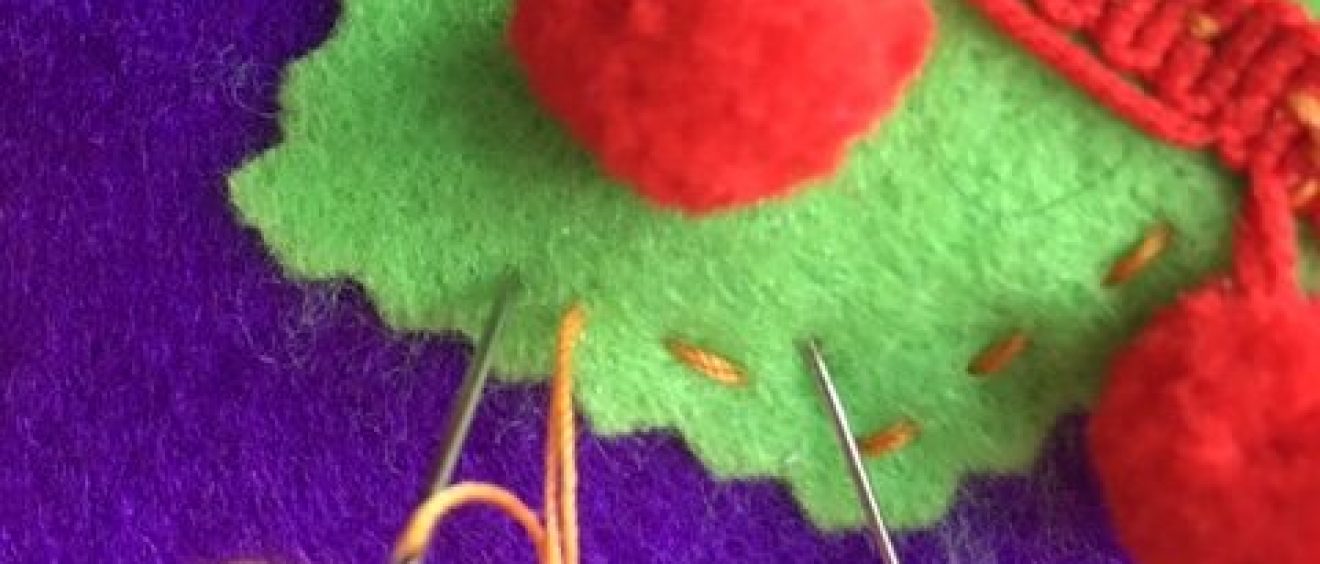
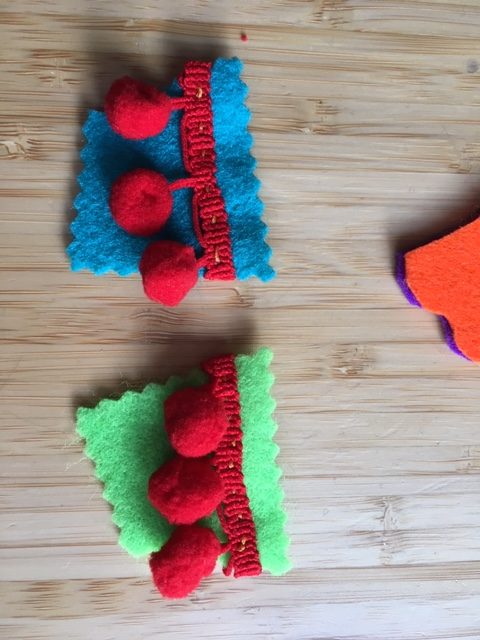
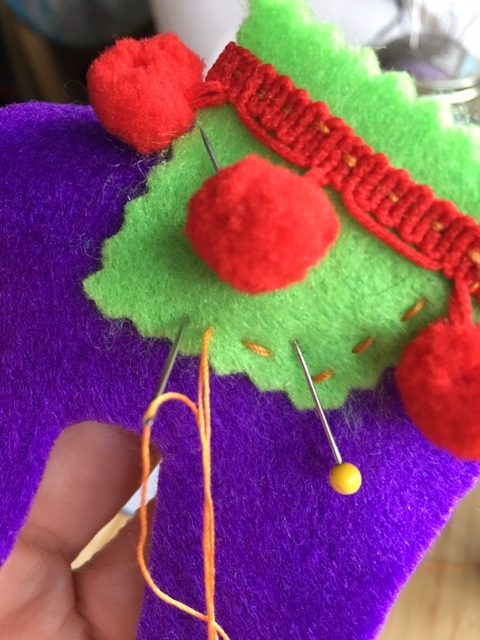
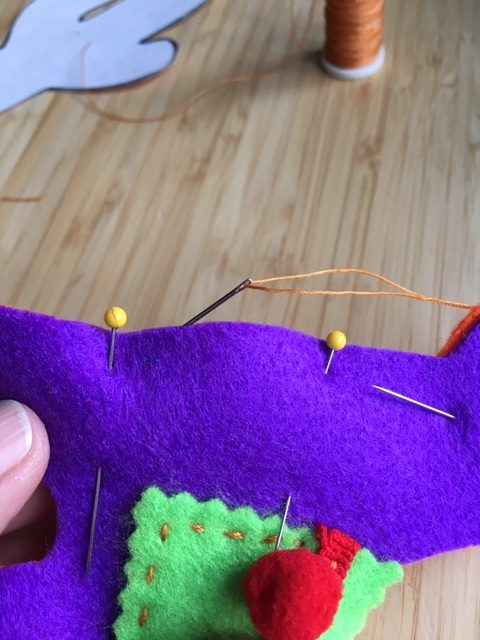
5. Sew the decorations onto the saddle blanket using a simple stitch. Try and keep the stitches the same size. Pin the decorated blankets onto each side of the llama.
6. Sew the blankets onto each of the llama pieces, one is the left side, one is the right side.
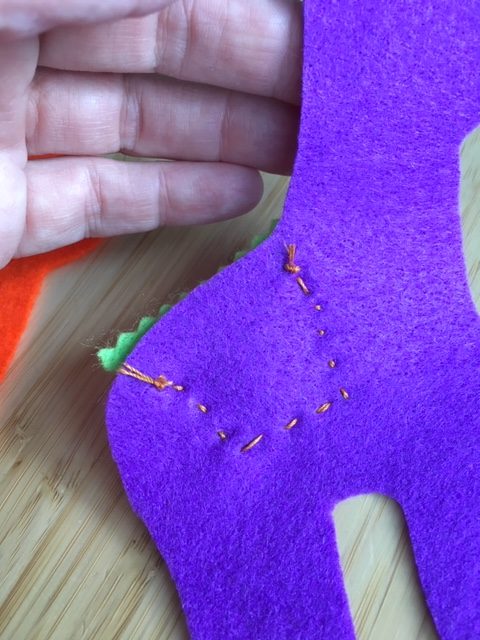

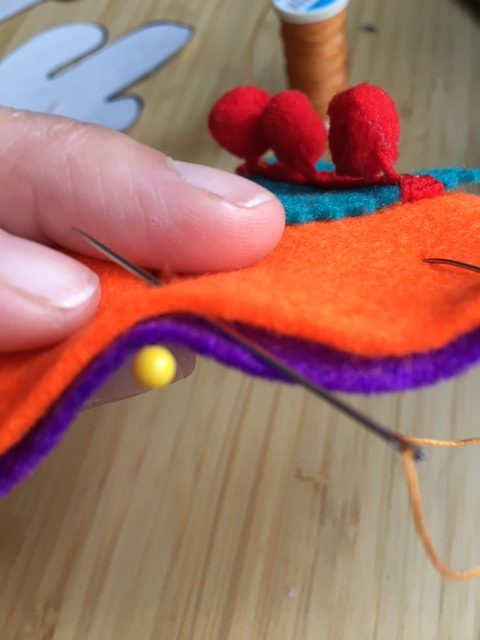
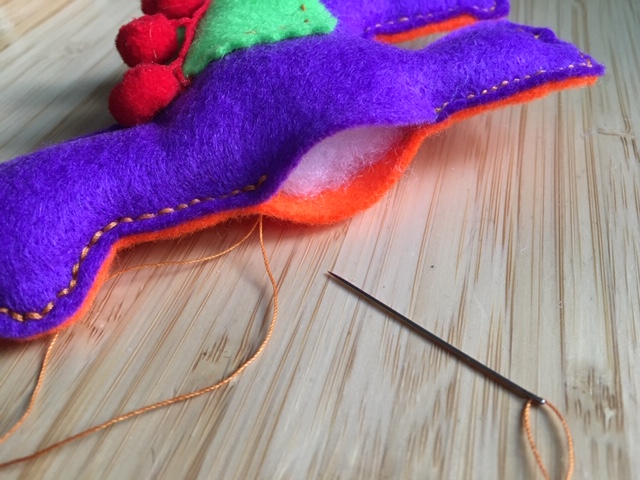
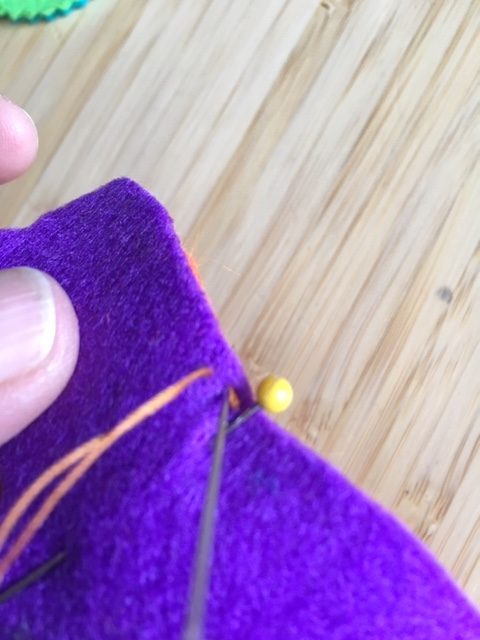
7. Pin the llama pieces together. Use the pins to mark a place to start your stitching and to stop so that a gap is left for you to push the stuffing into the shape. To hide the knot of the thread, start stitching from the inside – use *back stitch.
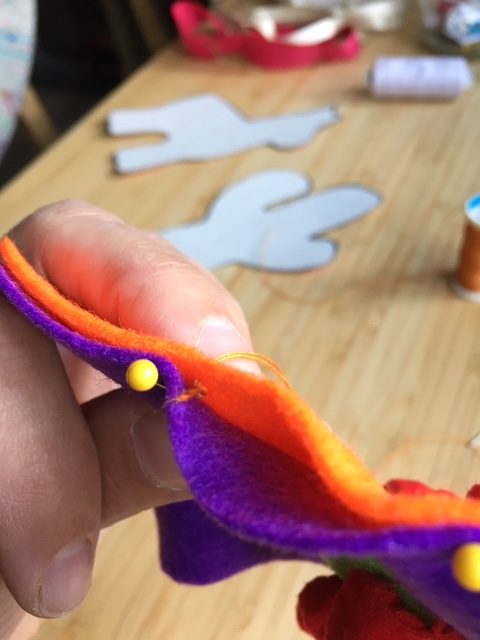
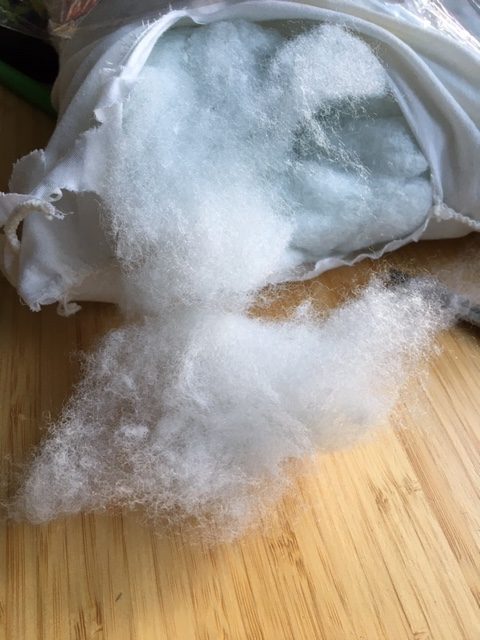
8. You are ready to stuff your llama! Take small pieces of wadding and push them into the llama, starting with the legs and head. Keep adding stuffing until all the space filled and your llama is plump.

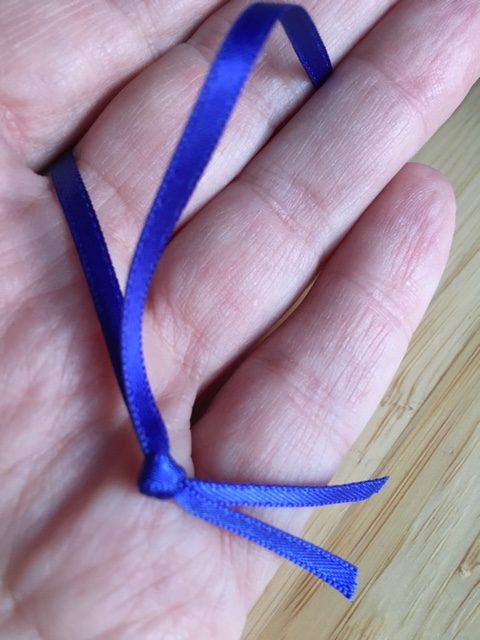
9. Finish off by using running stitch to close the gap. You can use ribbon to make a hanging loop and sew it carefully onto the back of the llama. Repeat steps 7 to 9 for the cactus.

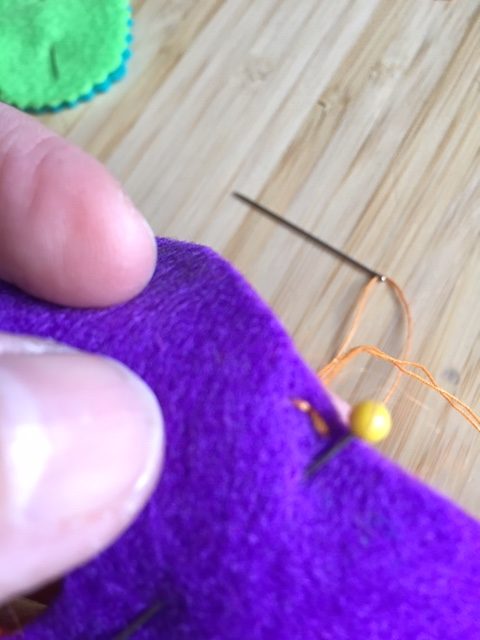
*Back stitch – This holds fabric together without gaps so that stuffing can’t come out.
- Push the needle through both pieces of felt – you will see a stitch
- Then leaving a small space, push it back up through both pieces – you will see a gap
- Go back to the last stitch and push the needle back through
- Repeat steps b and c

Other tips and ideas
- You can make these without sewing – just glue the felt together with water-based glue – remember to protect the table first.
- You can use a sewing machine and use ordinary fabric or recycle old clothes and bedding. Because ordinary fabric will fray at the edges you will need to sew them together with the finished sides facing inwards and then turn them the right way out before filling them up with the wadding.
- You can choose colours to match your room or make a present for a friend or family member in their favourite colour.
- Embroidery thread is really nice for the stitches if you have it.
- Experiment with special stitches like blanket stitch to make the edges really interesting.
- If you are confident with sewing, you can embroider a friend’s name or message on to personalise your gift.
- You can connect several shapes together with a long ribbon to make a garland.
Downloads
Download instructions for making felt llama and cactus (pdf)