


Make a mosaic
You will need:
- marine grade plywood (waterproof for outside)
- waterproof adhesive (not just ‘showerproof’ for outside)
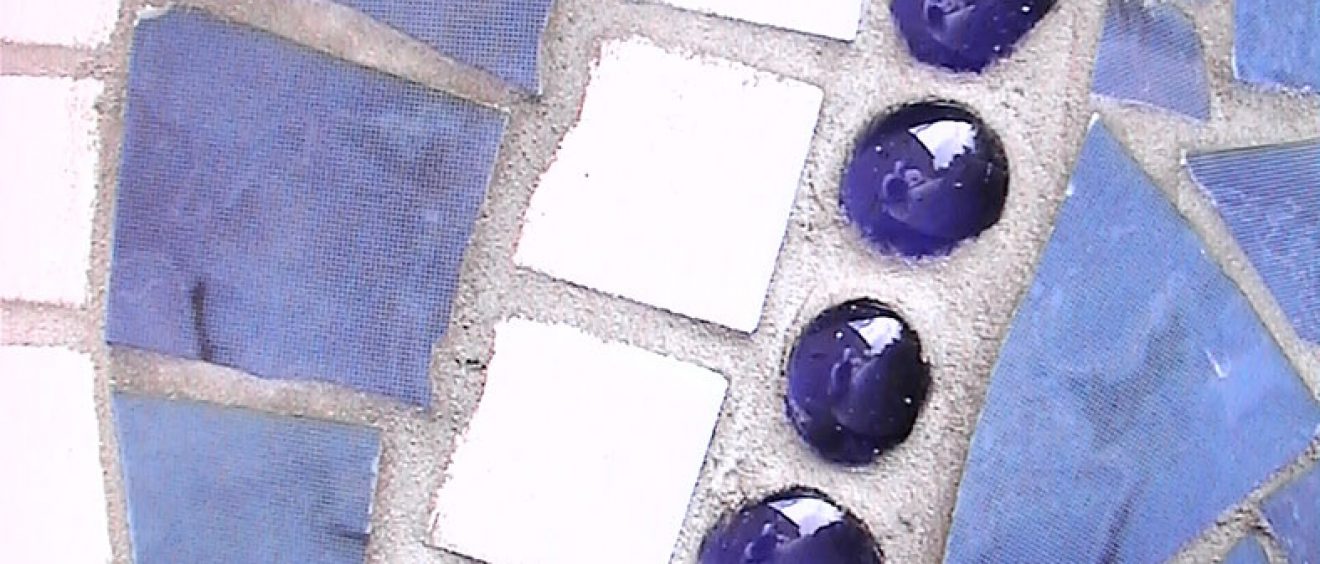
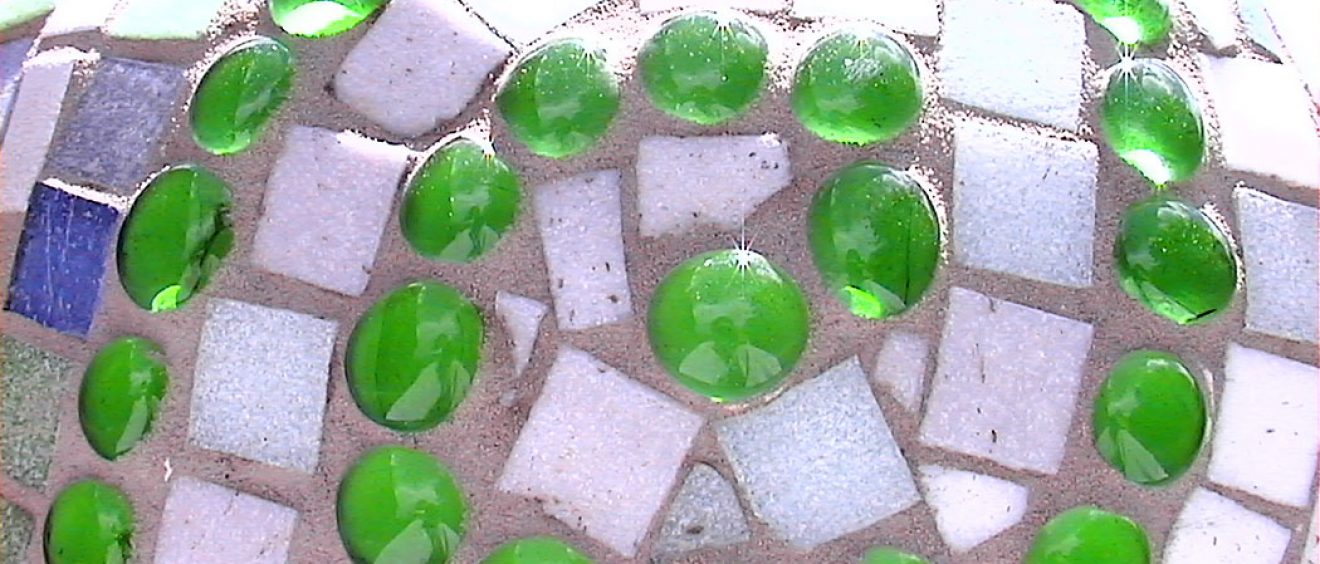
- a selection of mosaic, floor and wall tiles, crockery items and glass pebbles
- waterproof floor grout powder
- two tubs and mixing stick/spoon
- at least 2 sponges or clean rags
- large mirror mounts (for mounting large mosaic boards on wall)
- gloss paint to seal reverse side of boards (if external)
- apron and gloves
- goggles (when breaking up tiles)
Instructions
Breaking up the tiles
- Remove mosaic tiles from their backing strips
- Place the tile(s) or crockery in a folded cloth, such as an old tea towel, or bubble wrap NOTE: the advantage of bubble wrap is that you can see the tiles through it, which makes the next step easier
- Using a hammer, firmly strike the tiles through the cloth so that they break into smaller pieces. Continue to hit the pieces until they break into the size that you want
- Carefully unfold the cloth and remove the tile pieces, placing them in plastic pots or trays NOTE: Please be careful – don’t rush and ‘scoop up’ the pieces, pick them up individually to reduce the risk of cutting your fingers on shards and sharp edges
- Carefully tip any unwanted pieces and shards from the cloth into a container and dispose of safely NOTE: At Salisbury Hospital please use a ‘glass’ disposal bag – brown paper with red letters and a double lining
- Keep different colours in separate pots
N.B. Health & Safety: Goggles are ESSENTIAL & must be worn for breaking up the tiles; gloves are recommended. Carry this process out at a separate work surface to prevent damage or injury to yourself or the mosaic
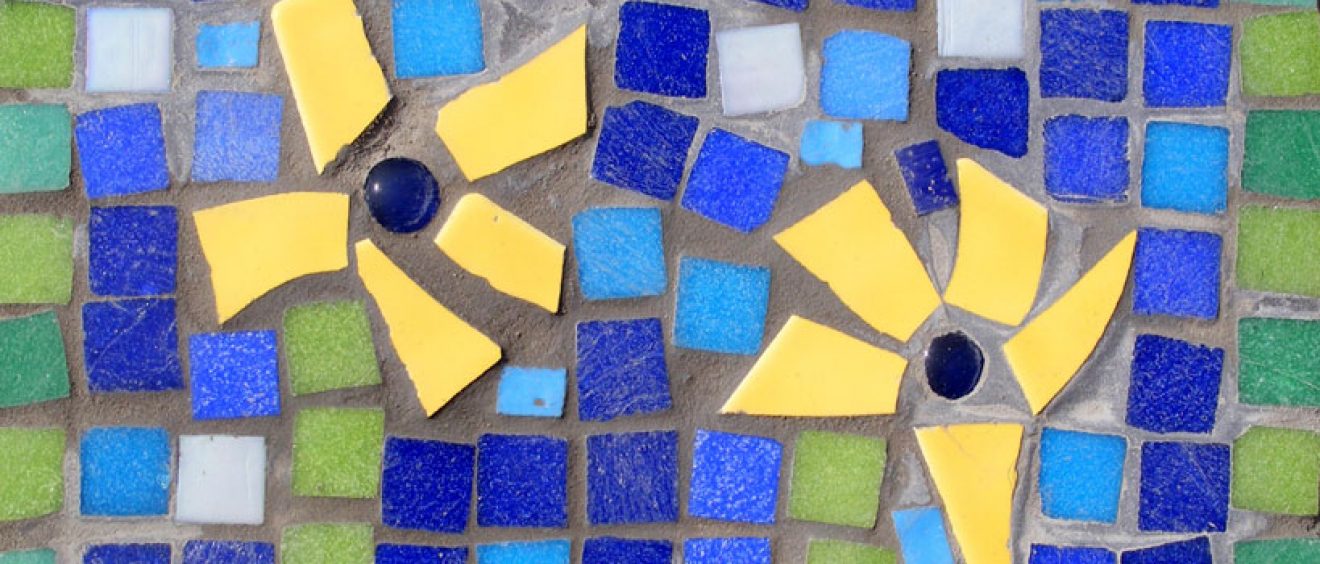
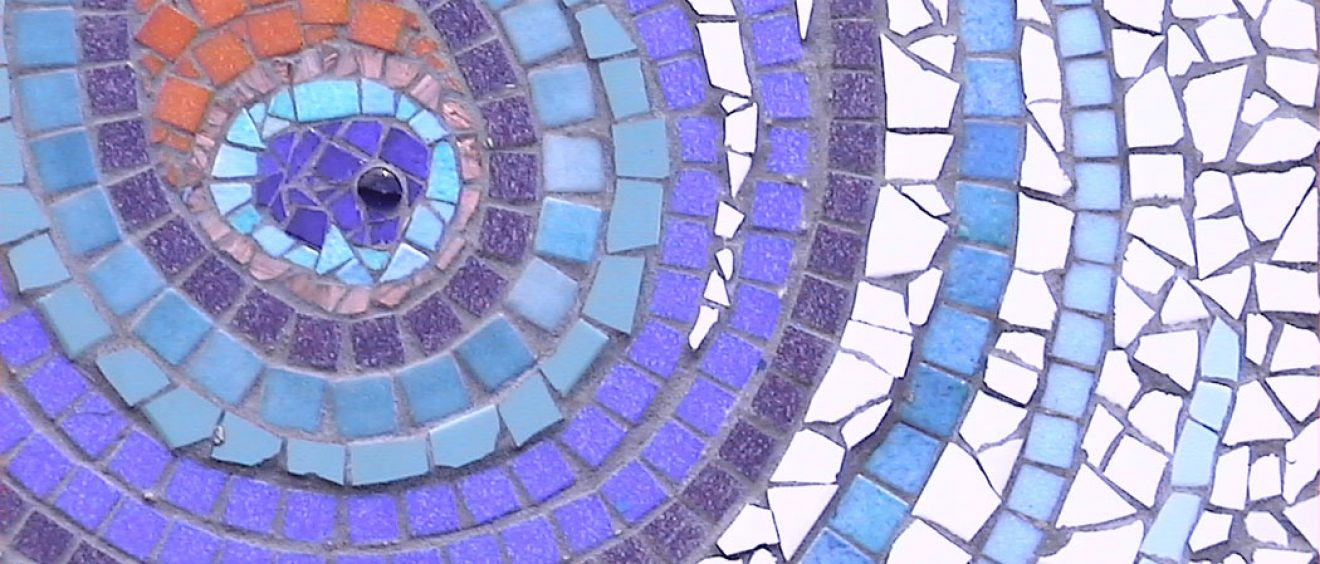
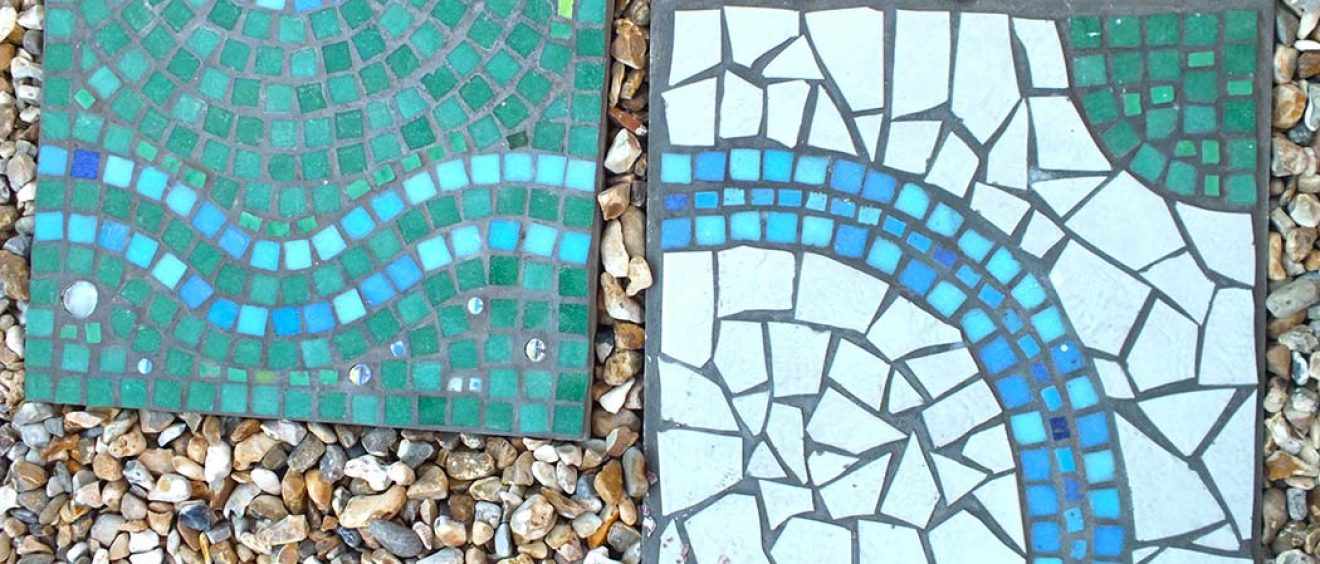
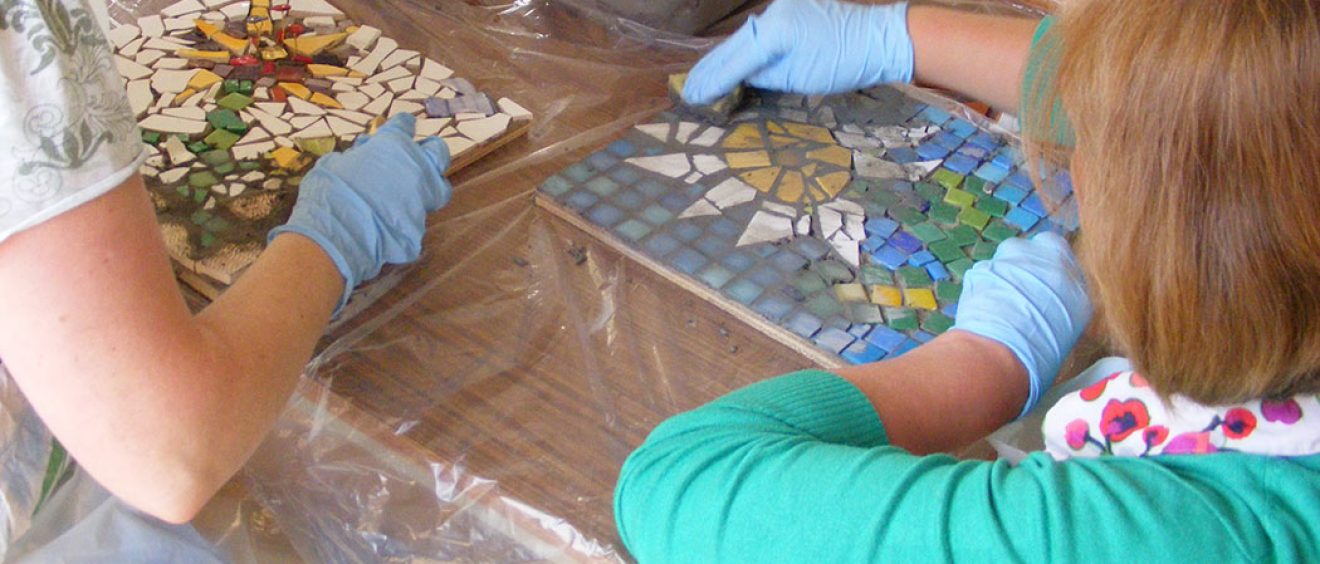
Direct method mosaic – a 2D mosaic using random shape pieces and the direct method
- Wear old clothes or an apron.
- Cut the board to shape and draw the design onto the board. NOTE: If you are not confident of your drawing skills use tracing paper and large photocopies to transfer the design onto the board
- Identify the tiles/items you need and break them into smaller pieces (see instructions above).
- Spread the adhesive over a small area. You may find it easier to work from the centre outwards. Remove excess adhesive with a damp sponge or cloth before it dries. NOTE: The thickness you need will depend on the items you are sticking. Generally speaking, crockery will need a thicker layer of adhesive and mosaic tiles, thinner.
- Place the lid back on the adhesive to prevent it drying out and wipe the spreader or place it in water to prevent it going hard.
- Place the pieces of tile in the adhesive making sure you ‘wiggle’ them gently to ensure good adhesion.
- Once the mosaic is complete, allow to dry for at least 24hrs before grouting.
A 3D direct method mosaic
You can apply mosaic to any surface that remains stable such as brick, concrete or terracotta plant pots. Metal and plastic surfaces usually expand and contract depending on temperature and would cause mosaic to loosen. Working on a plant pot:
- prepare the tiles and crockery in the same way as 2D mosaic above
- Use a wet sponge to dampen terracotta before applying adhesive. Stoneware pots will not require this as they are less porous
- Use smaller pieces for curved surfaces to give a better finish
- Continue to follow instructions as for 2D mosaic
Indirect method mosaic – a 2D mosaic using random shape pieces and the indirect method
For this mosaic we are using: Brown paper in large pieces, school glue – PVA and basic brushes to spread the glue in addition to the materials and equipment for the direct method. You will need to know the finished size of the mosaic, eg. 120cm x 60cm. For the indirect method you will put the tiles onto the paper to make the mosaic on a sheet. You need to design the layout in reverse.
- Wear old clothes or an apron.
- Cut a large sheet of brown paper, which is bigger than your finished size and draw the design onto the paper. NOTE: If you are not confident of your drawing skills use tracing paper and large photocopies to transfer the design onto the paper
- Identify the tiles/items you need and break them into smaller pieces. (see above instructions)
- Spread the PVA over a small area.
- Place the pieces of tile UPSIDE DOWN onto the PVA
- Keep adding PVA and tiles until you have covered your whole design.
- Allow to dry for at least 24hrs.
- Mark the ‘TOP’ of the mosaic on the back of the paper. If it’s a large sheet you can cut it up into smaller sheets that are easy to handle – for example A3 sizes. You can number the sheets to help you piece them together in the right order.
- Use chalk to mark the wall with the position you want to install the mosaic.
- Spread a section of the wall with the tile adhesive – make it thick enough to sink the tiles into
- Take a sheet of tiles on brown paper and press them onto the adhesive so that they stick to the wall. Repeat, following the numbers you wrote on the back to get them in order, adding more adhesive as you need to.
- When all the sections are stuck on the wall, gently rub the surface of the brown paper to smooth the sections and get the tiles to be level.
- Leave the adhesive to set for at least 24 hrs
- Remove the brown paper by soaking with warm water and peeling it off as it softens.
- Now follow the instructions for ‘Finishing the mosaic’.
Other tips and ideas
- Taking a photo of the sheets laid out before transferring to the wall can help remind you of what goes where
- The temperature outside needs to be above 5°C to ensure the adhesive cures properly
- Unwanted adhesive at the edges needs scrubbing off while it’s still soft as it’s much harder to remove once it’s set hard
Grouting & finishing both mosaics
- Wear gloves and old clothes or an apron and protect your working surface and the floor
- Remove unwanted adhesive on the surface of the tiles, scraping it off using an old dinner knife or strong plastic scraper
- Scoop about 2 cups of grout into one of the tubs and make a ‘well’ in the centre. Pour in one cup of water and begin mixing the grout, stirring slowly
- Add small amounts of water and stir until all the powder becomes a thick paste. The paste should form a soft ball without crumbling
- Using a sponge or folded rag, take a scoop of grout and press it onto the mosaic pushing the grout into all the cracks. For a large mosaic, work across in stages so that the grout doesn’t dry out before you have a chance to polish it off. Remember to finish the edges too.
- After about 15mins the grout begins to lighten in colour. Take a clean sponge or rag and rub the mosaic down to remove any grout from the tile surfaces
- Allow 24 hours before a final polish with a clean dry cloth
- For 2D mosaics on board:Apply one coat of primer and two coats of gloss paint to the reverse of the board to prevent damp from seeping into the plywood and damaging the mosaic. Apply mirror mounts to the back of the mosaic to fix to the wall.
More tips and ideas
- Mosaics created on plywood will have a limited life span. For this reason, site the mosaic in a sheltered spot away from prolonged heavy rain or weather damage (avoid north facing walls). For long lasting exterior mosaics it’s best to apply directly to the surface using a mortar or concrete mix.