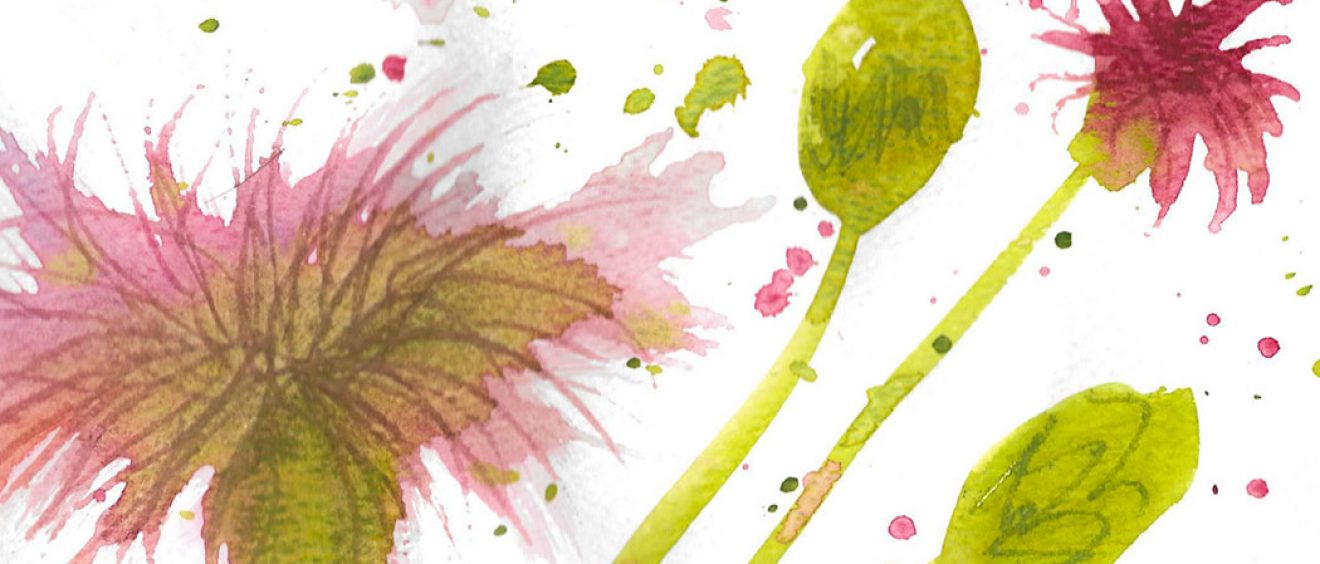

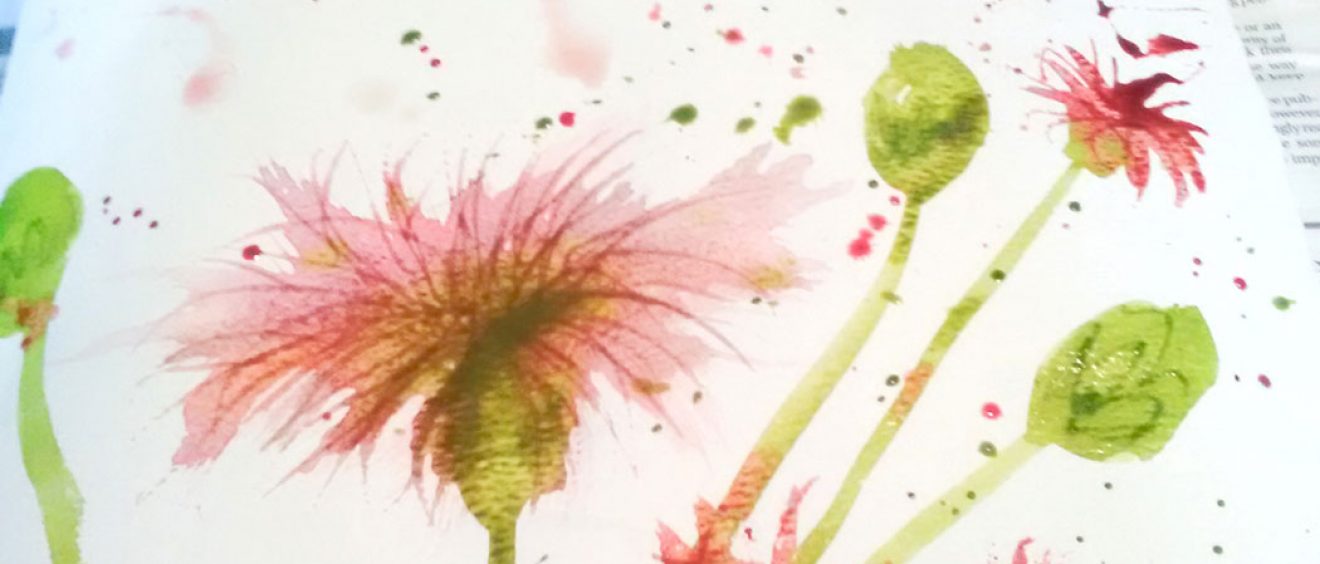


Watercolour wildflowers
You will need:
- watercolour or water based poster paints
- variety of brushes (nothing fancy we used decorating brushes and an old toothbrush!)
- thick watercolour paper
- pot for water
- newspaper
- kitchen towel for mopping up spills
Instructions
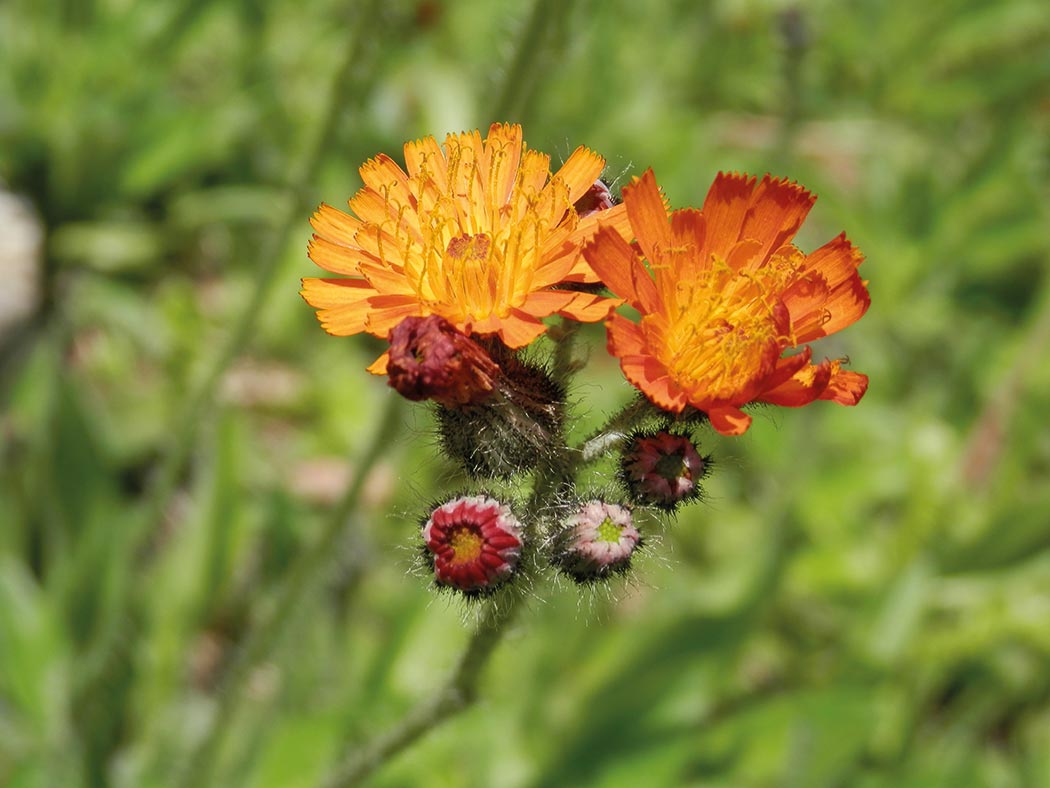
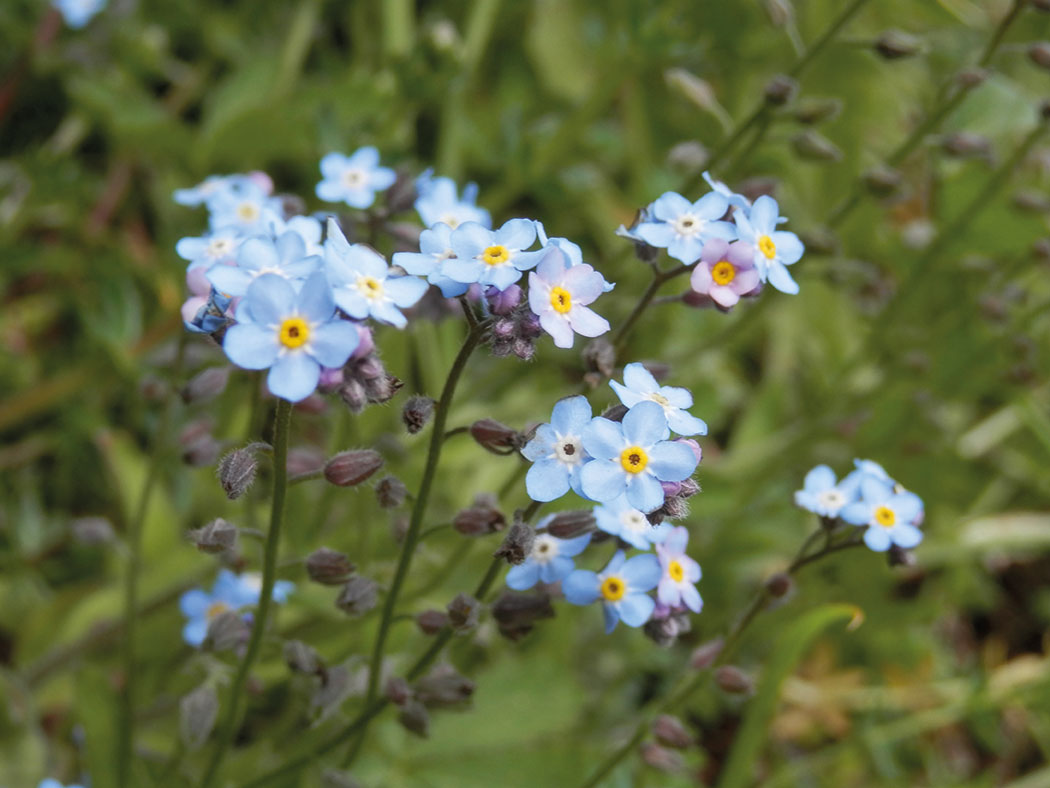
- Using our SDH Nature book as inspiration look for some interesting colours and shaped flowers.
- Set out your paints, water, brushes and paper on some old newspaper.
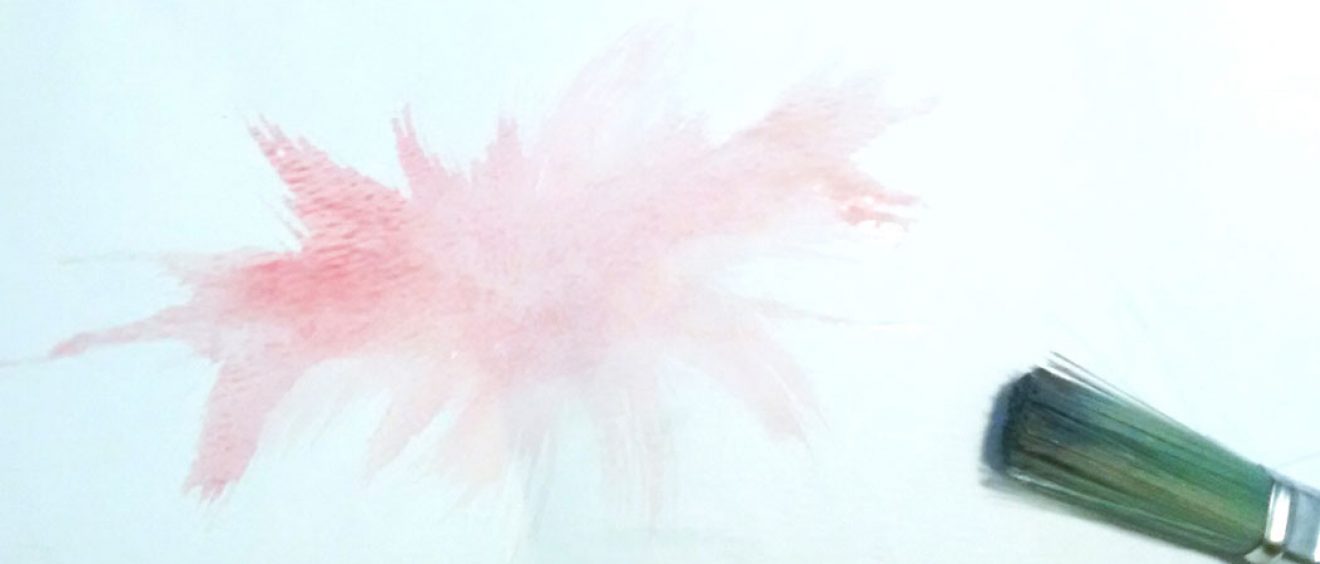
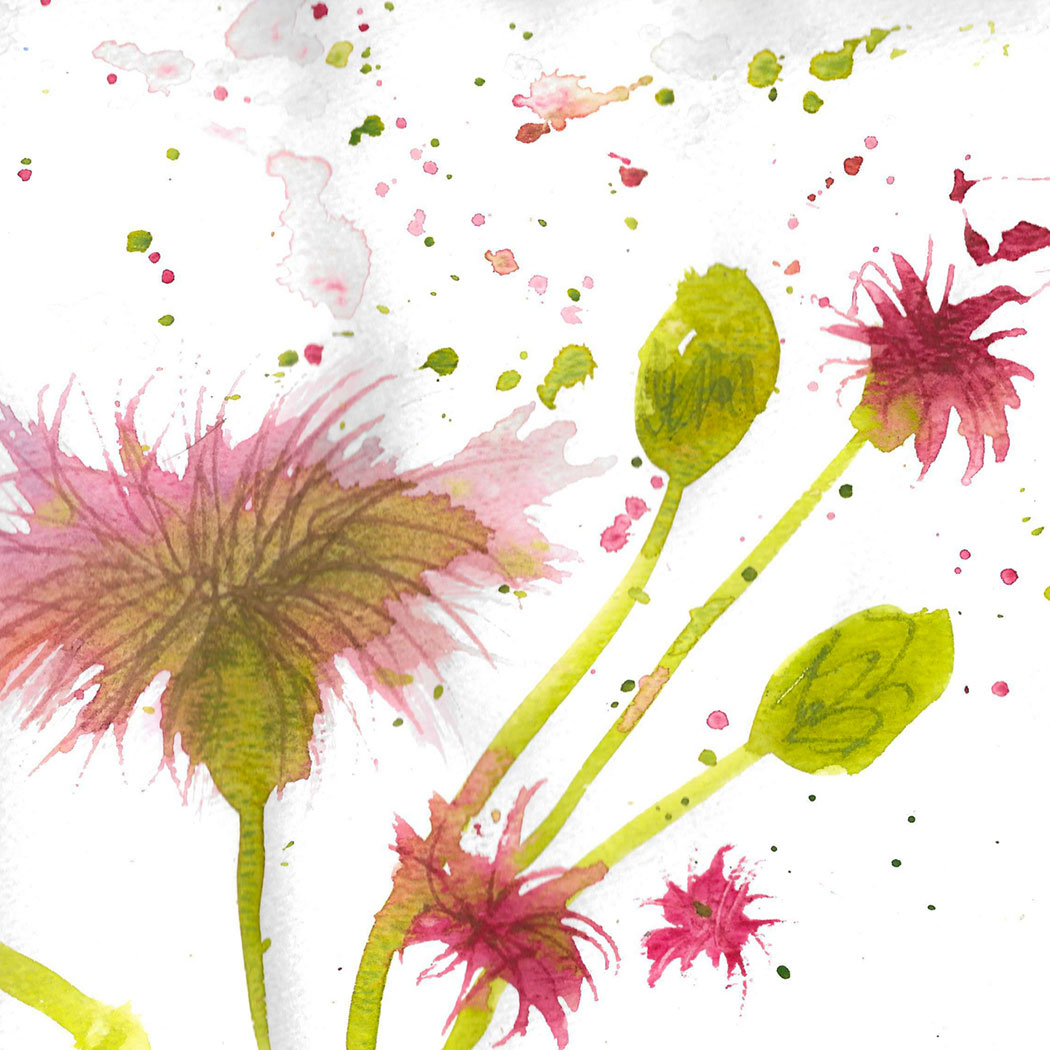
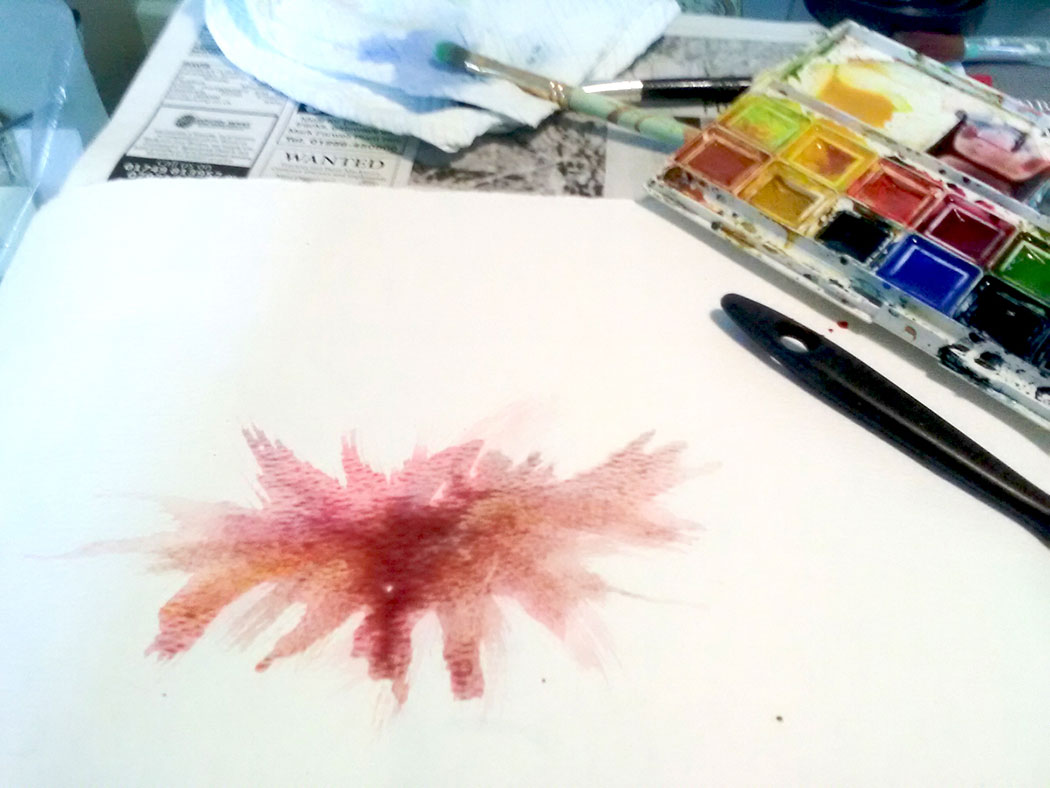
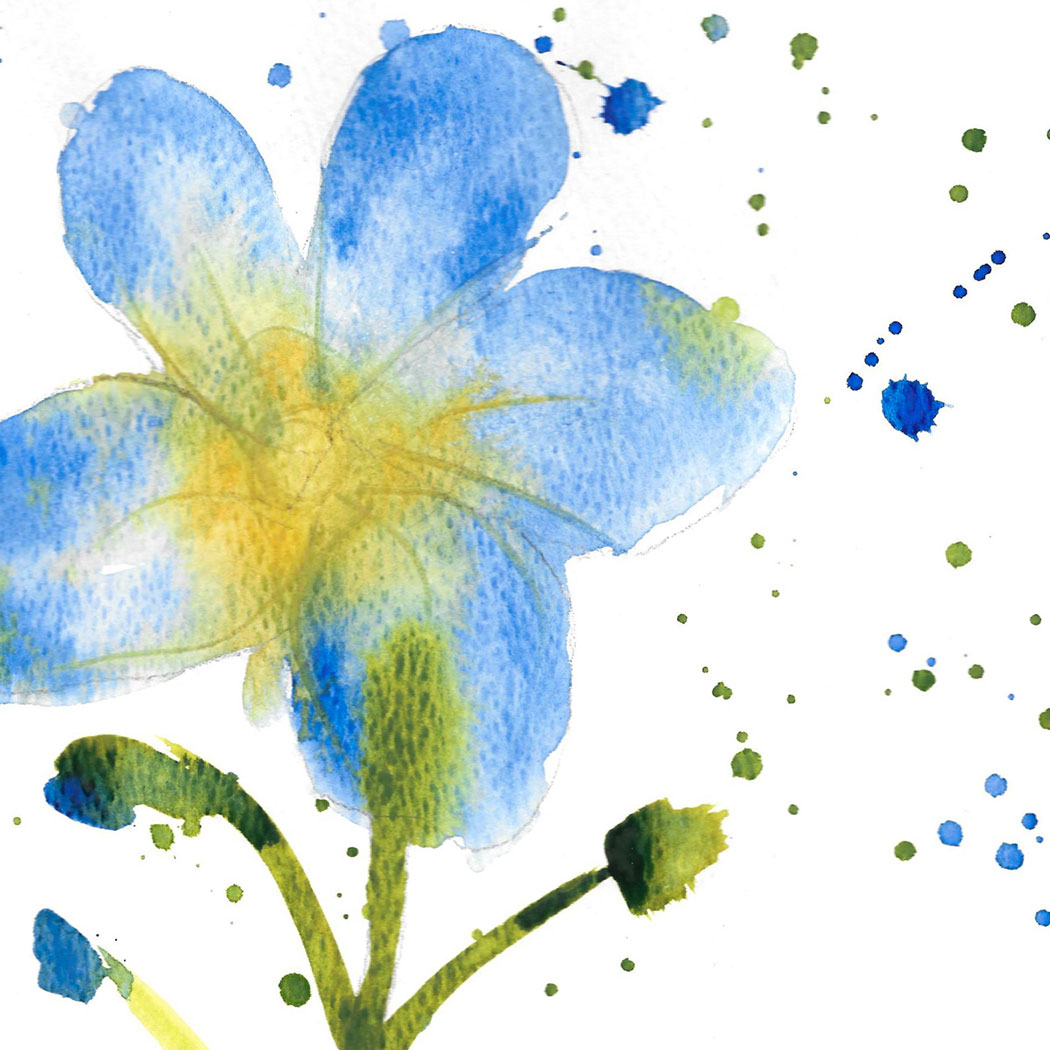
- Make the paper wet, with water, in a rough shape of your flower head.
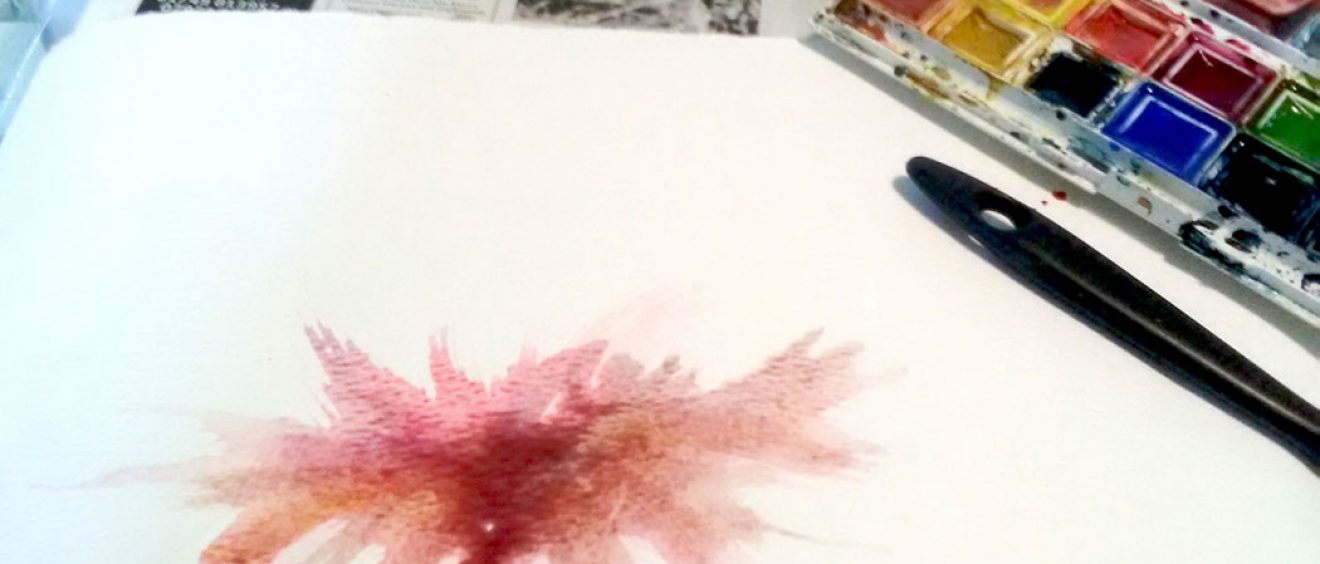
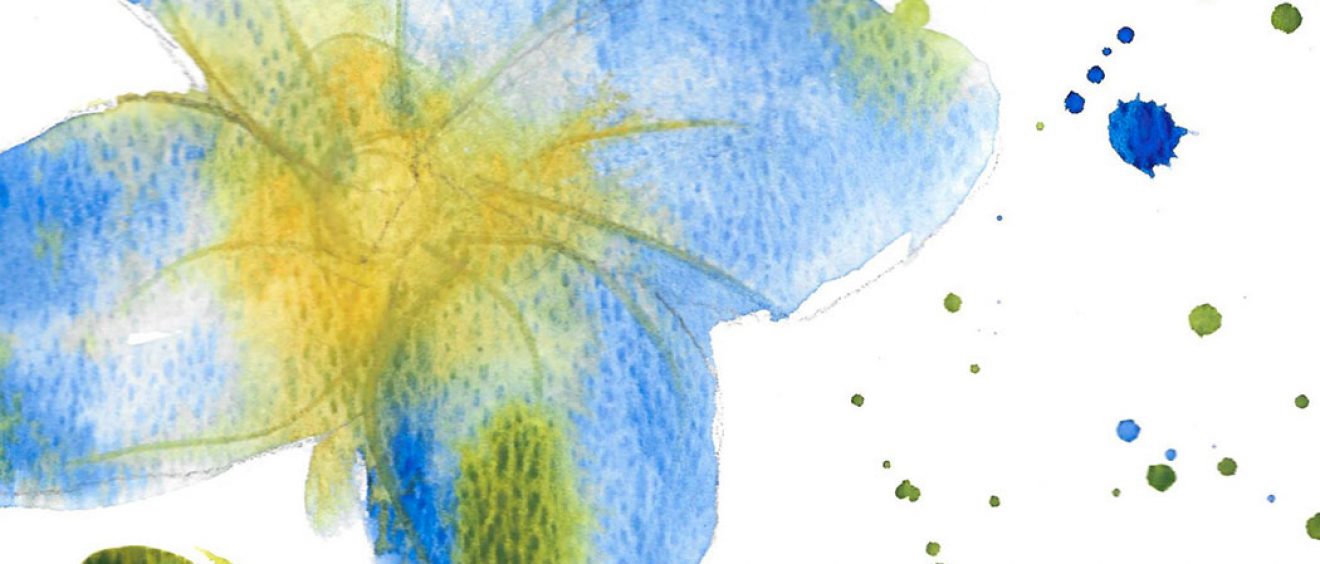
- Dab onto the wet area with a couple of different colours and watch them blend together on the damp paper.
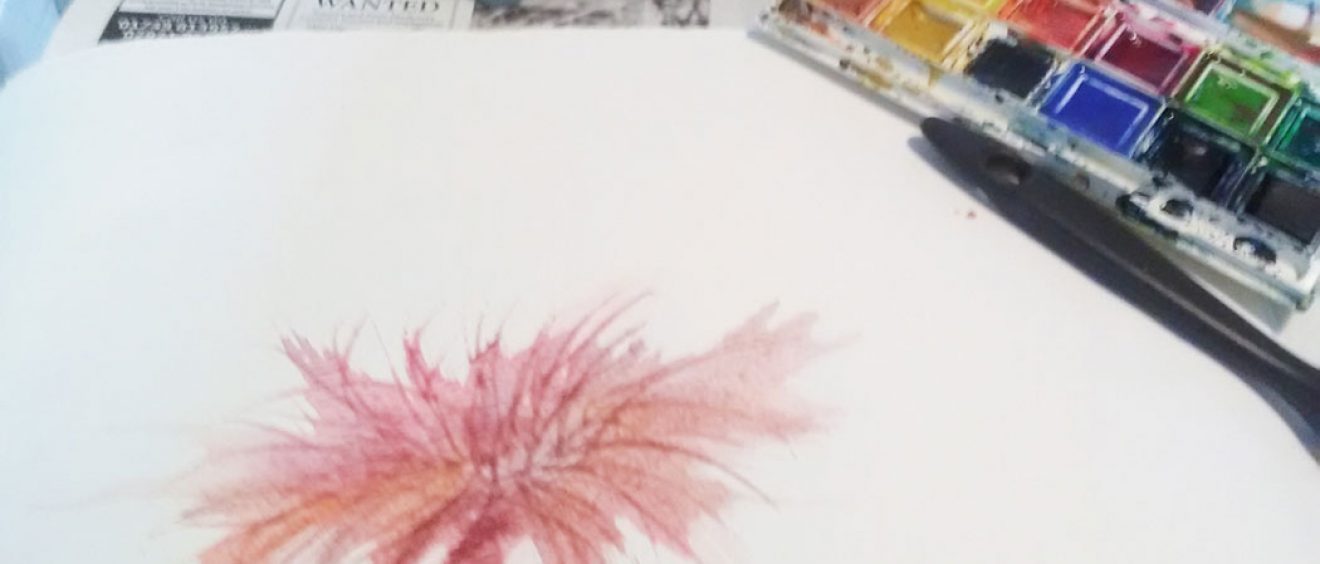
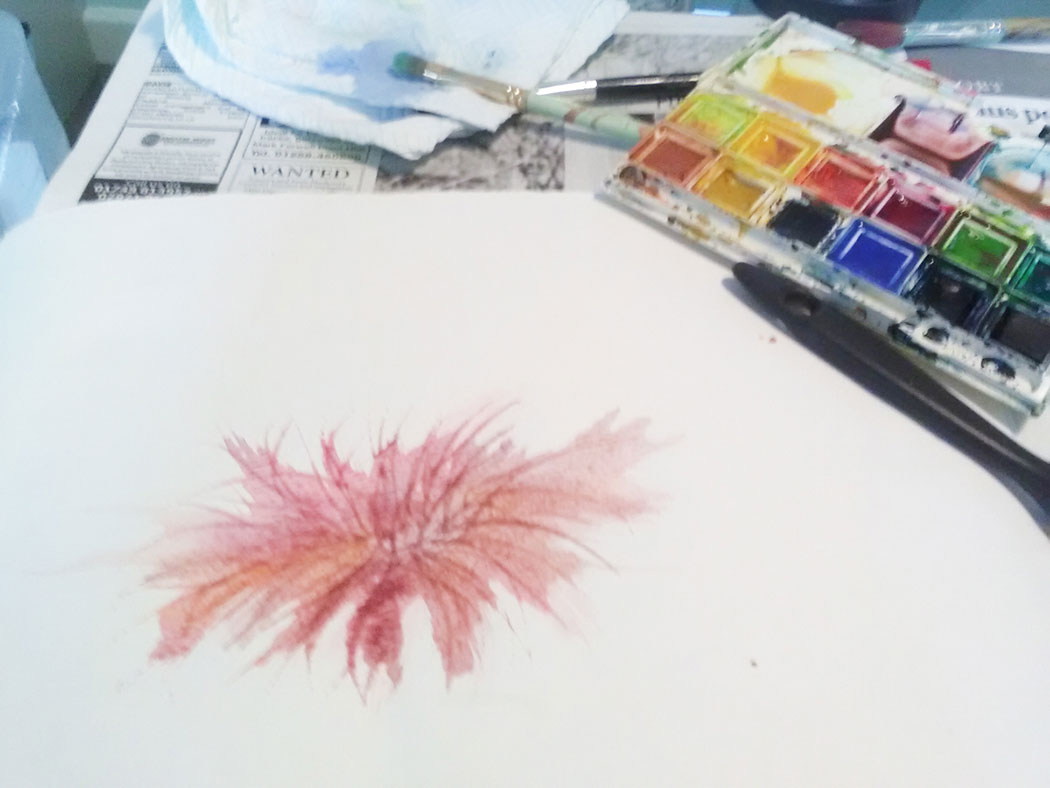
- Try drawing into your wet paint with the ‘wrong end’ wooden tip of your paintbrush to create a scratched effect.
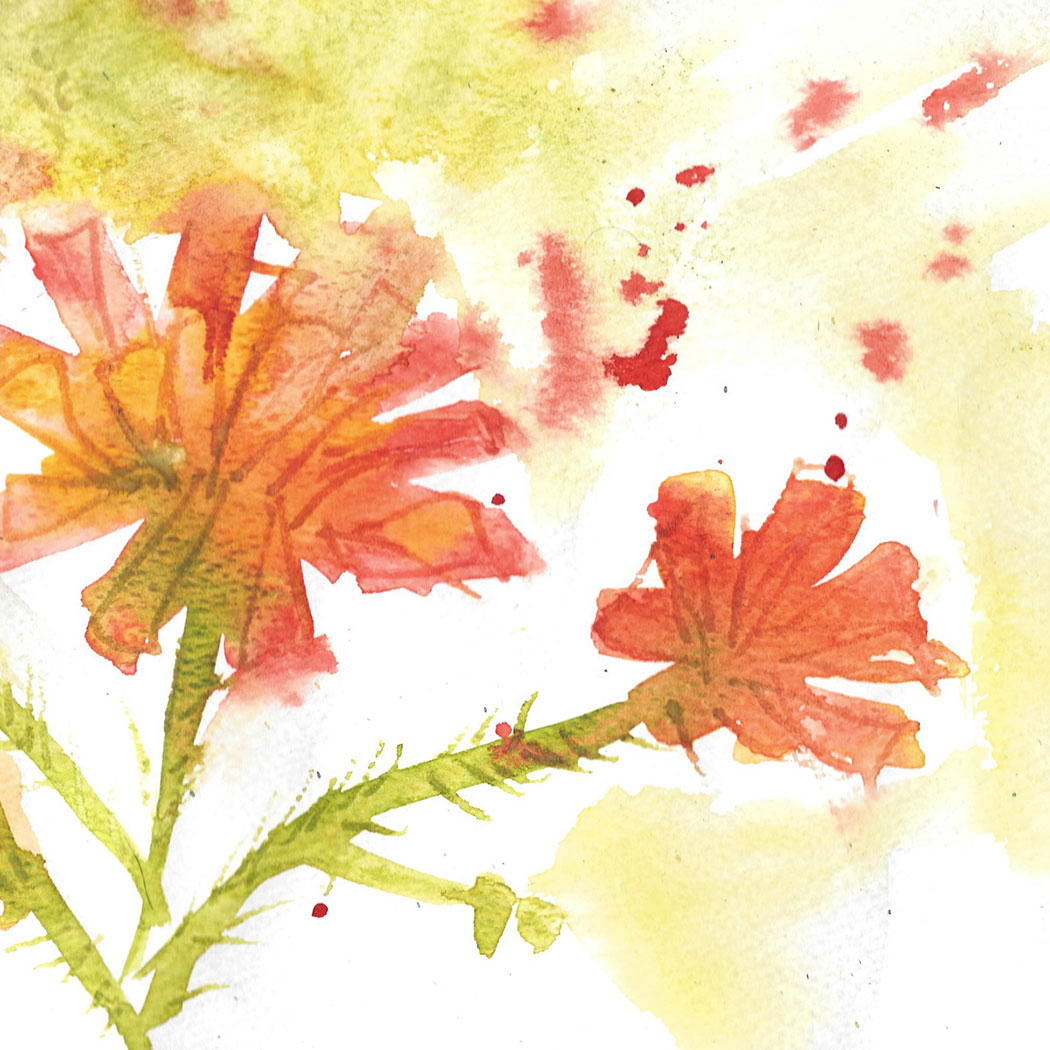
- Add in some stalk details, again in wet paint and use an old brush or toothbrush to add final splashed texture for the background.


Other ideas and tips
- Use a much larger brush than you think need, we used an old decorating brush, this will stop you trying to add too much detail!
- Keep the paint wet as you will create some interesting blends.
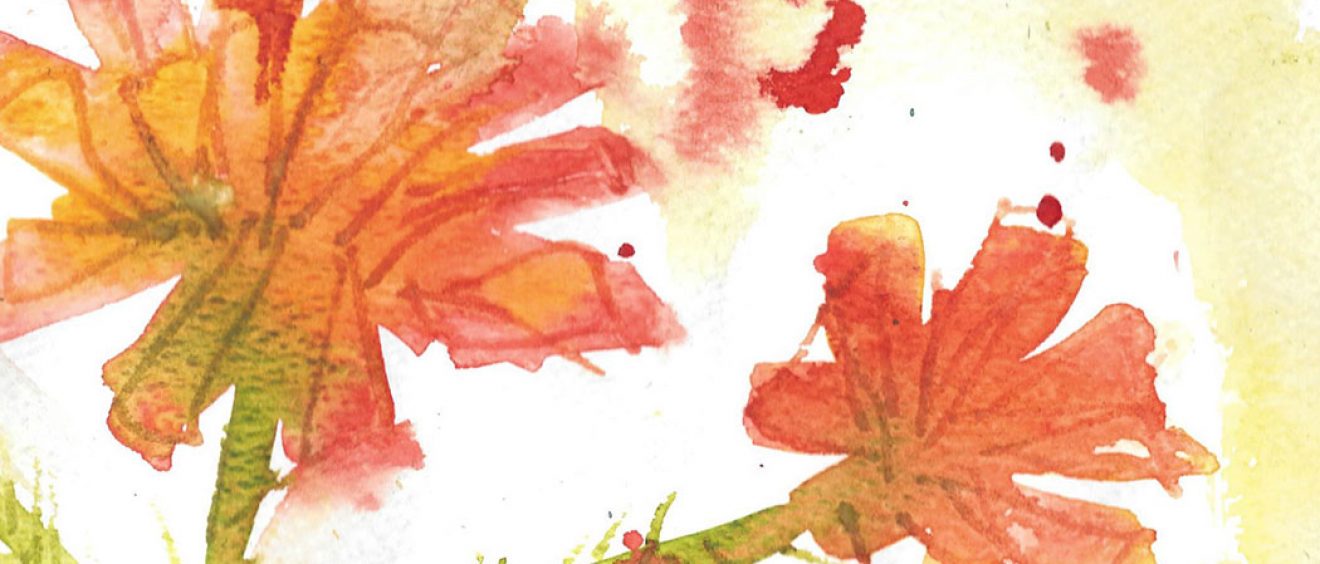
- Don’t worry too much about copying your flower image, try different strokes to give an impression of its shape.
- Try using two different colours to gently combine on the wet paper, for example use yellow & red to merge into an orange flower (don’t over mix and let some of the original colours still show through for more dynamic image).
- Use a standard pre-cut mount to view your dry painting, when to see it with cropped edges your artwork always looks much more finished!