


Clay Relief
You will need
- Air dry clay
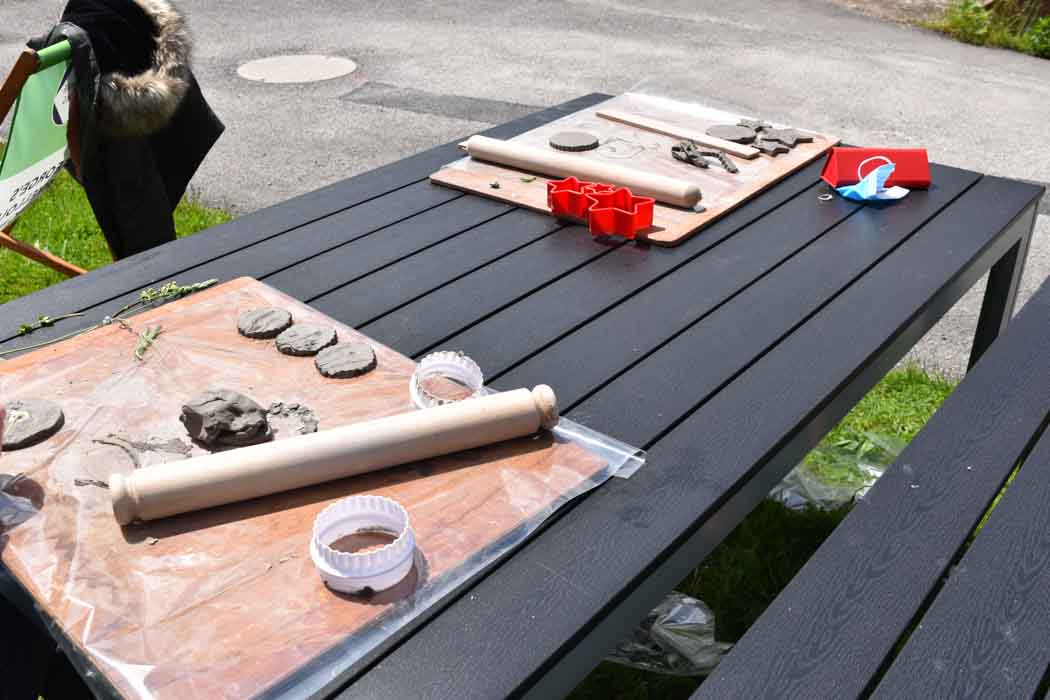
- Rolling pin or water filled bottle (optional)
- Cookie cutters (optional)
- Knife – plastic or picnic cutlery works really well
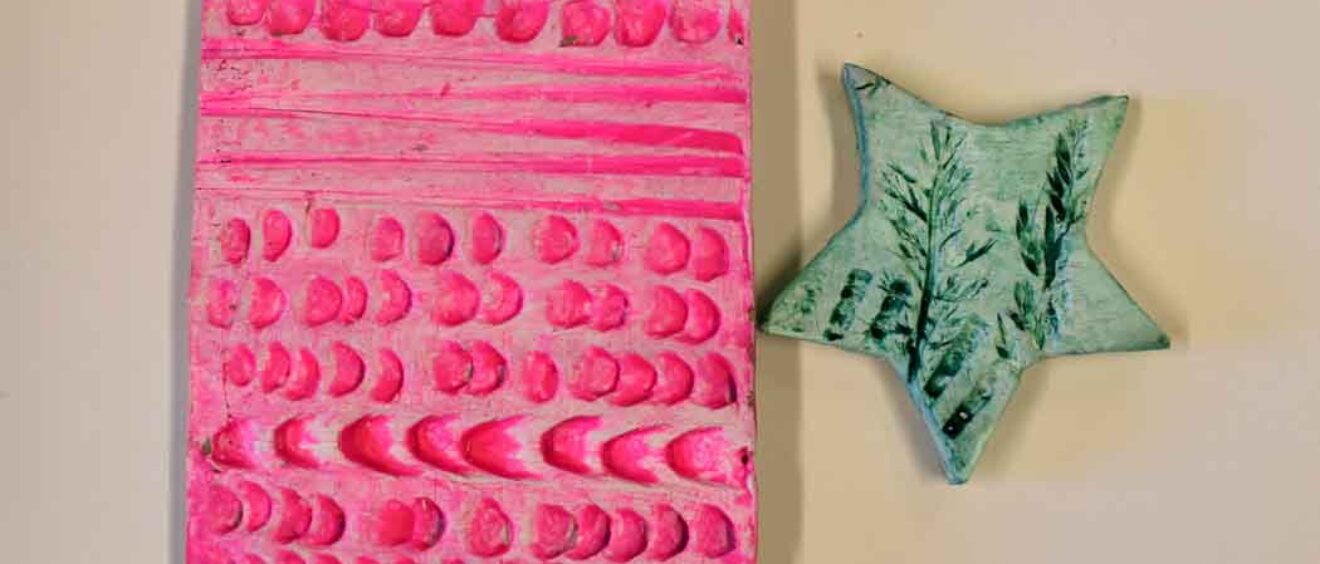
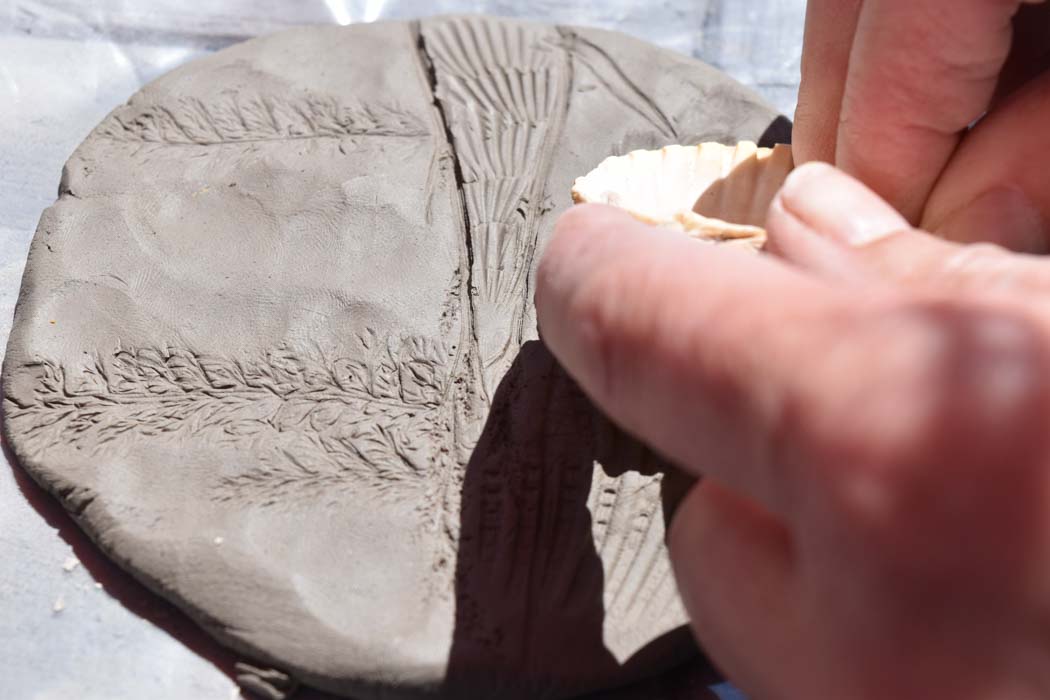
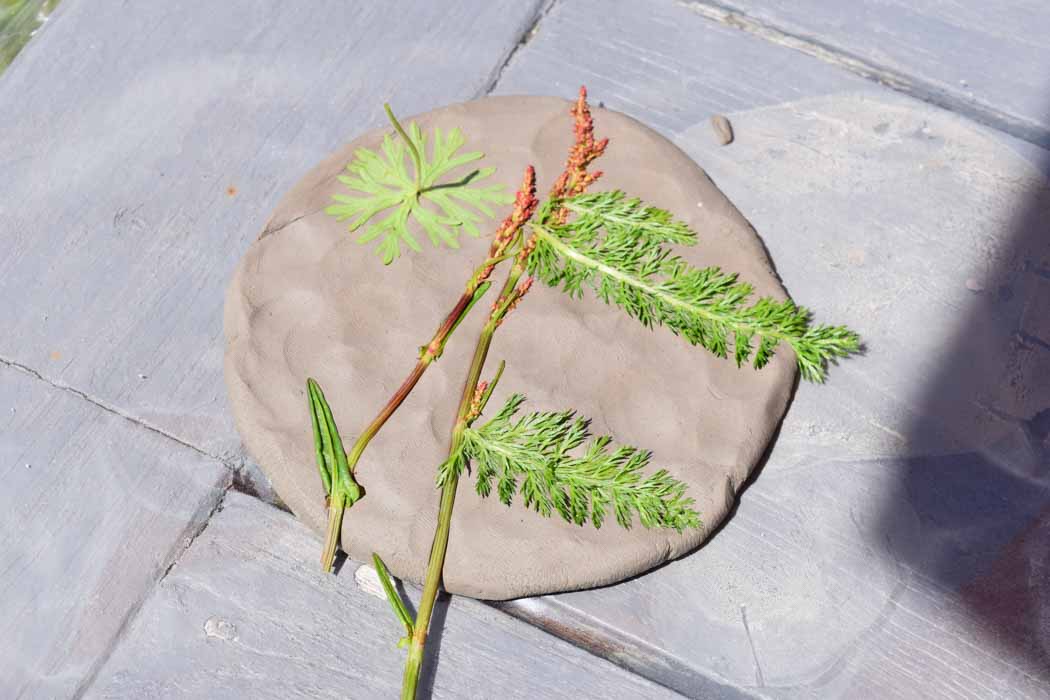
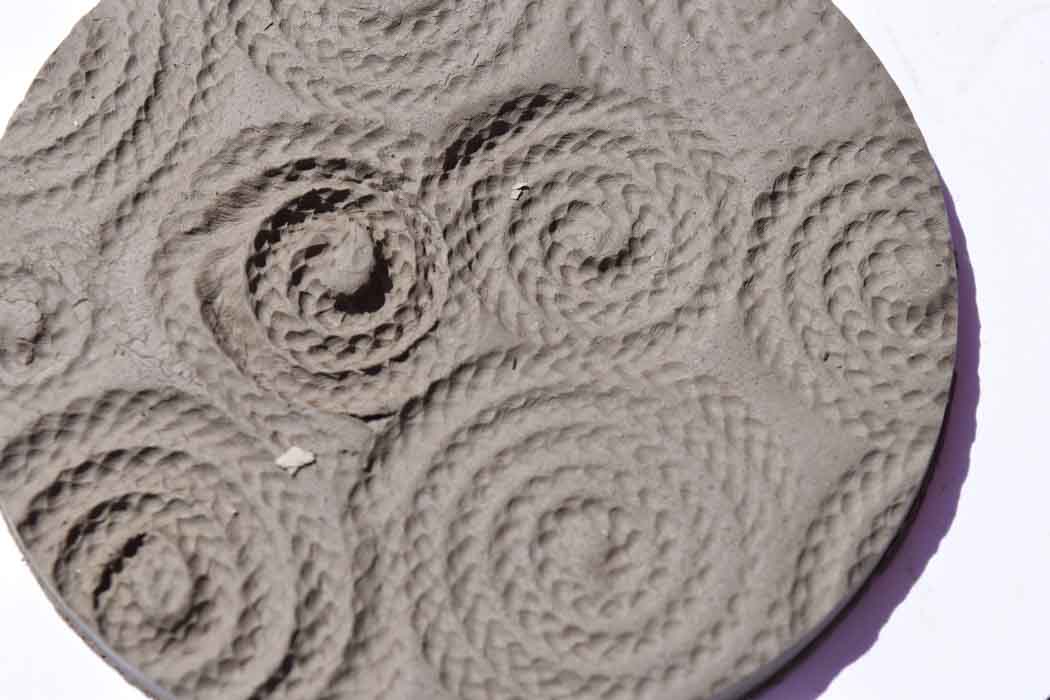
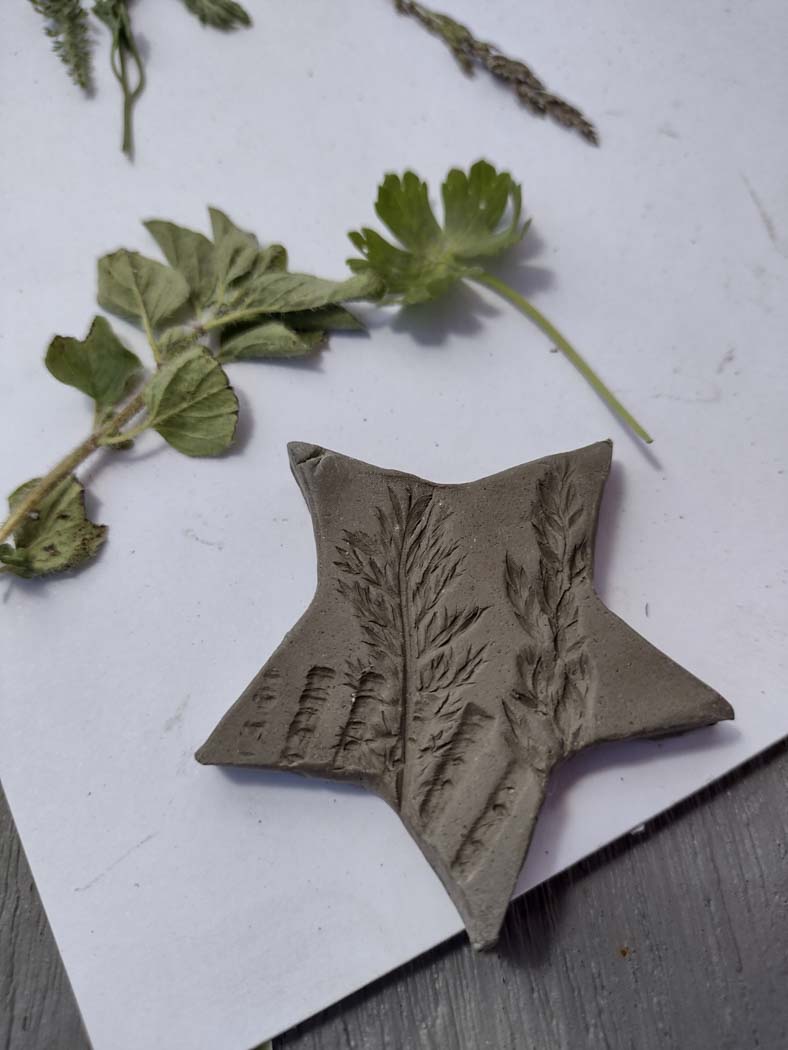
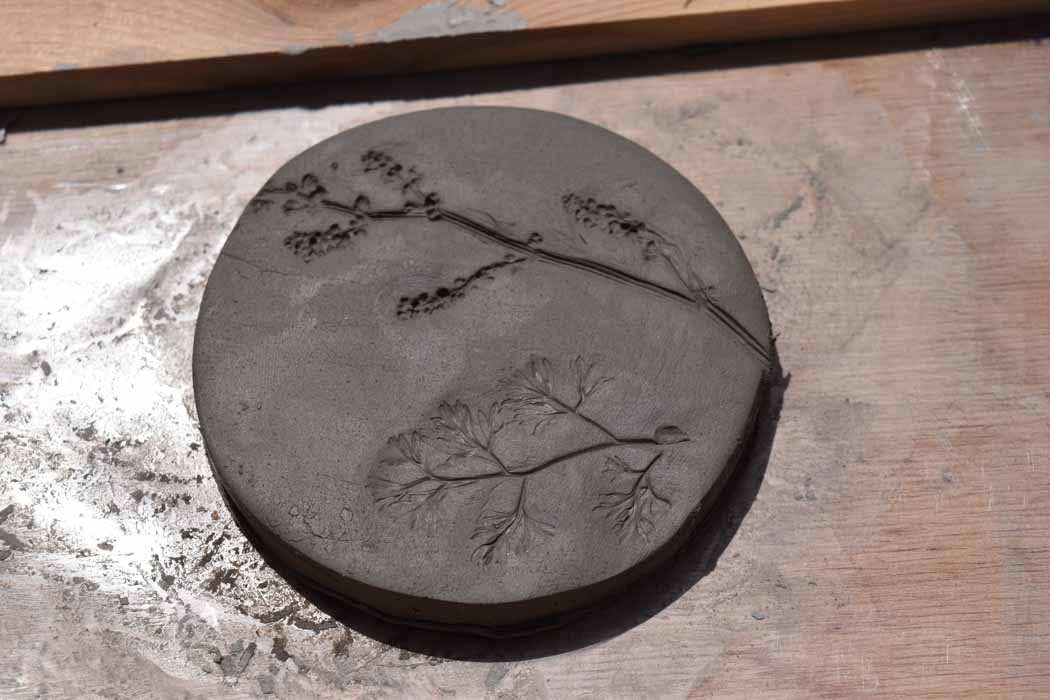
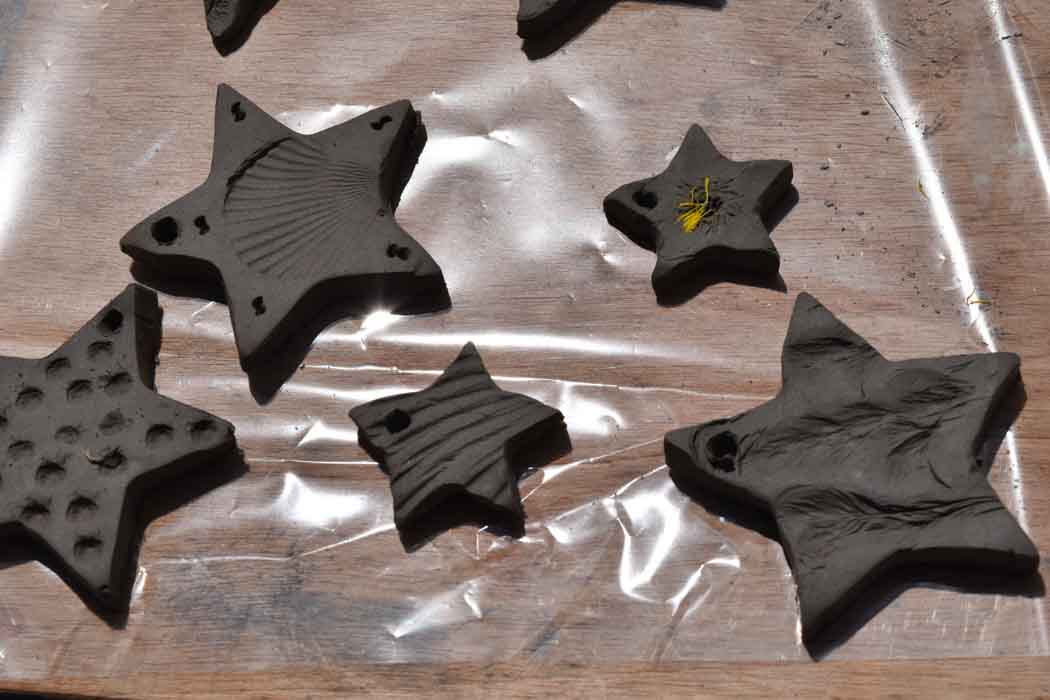
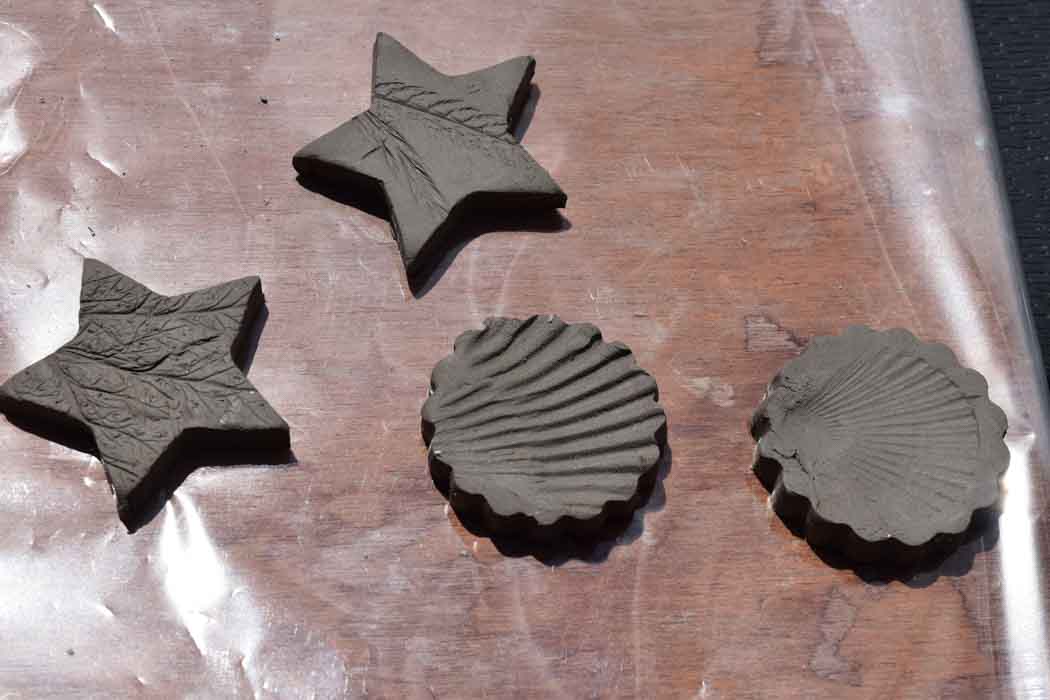
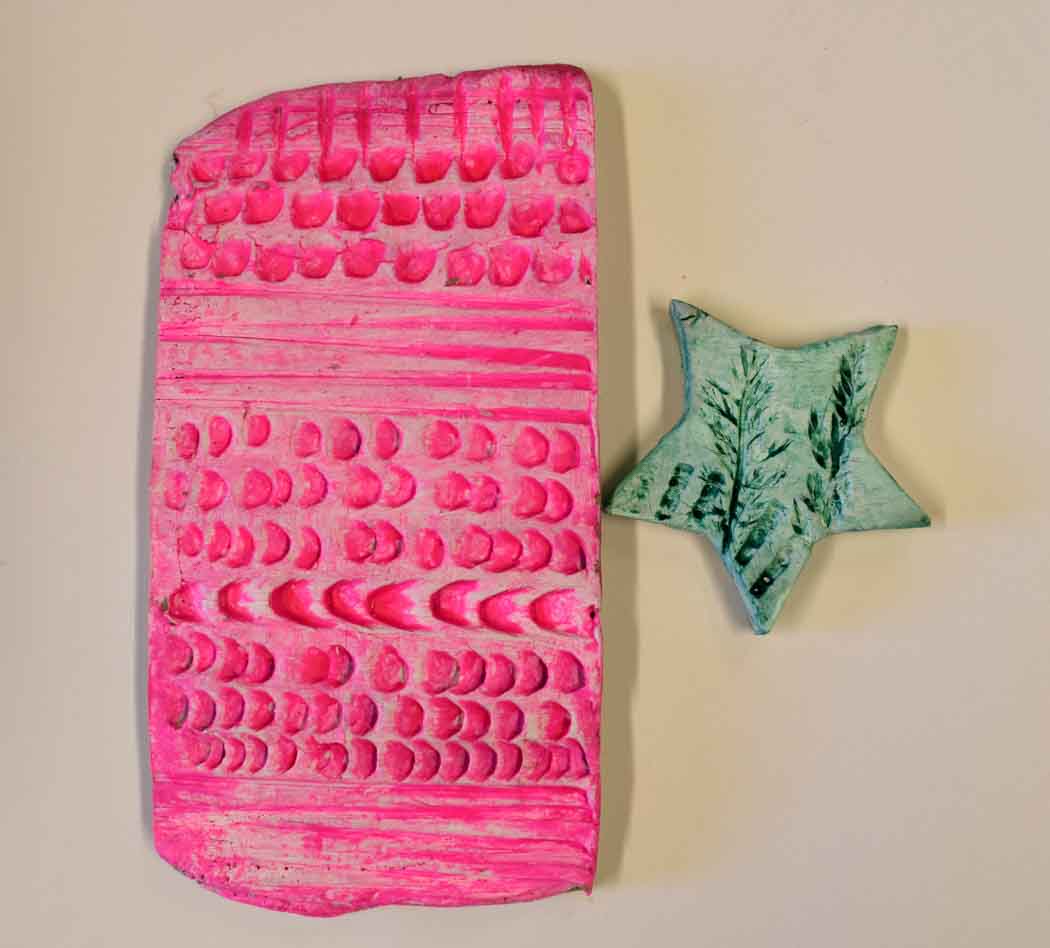
- Found objects: Collect items to press into the clay – e.g. leaves, shells or other natural items from the garden; also man-made items – pen lids, clay tools, textured fabrics like lace, lego etc
- Piece of cardboard or cloth to put under the clay to make it easier to move
Instructions
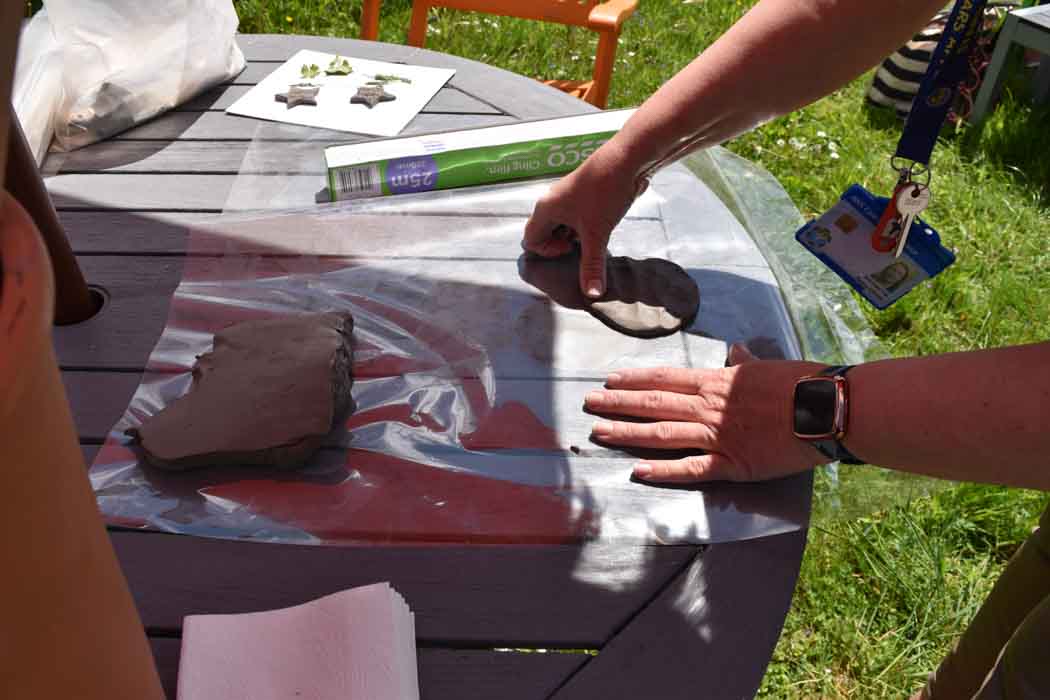
- Protect the work surface – newspaper or a cloth. Cut or rip off a piece of clay – keep the remaining clay damp with a wet kitchen towel / sealed in a waterproof box or bag
- Working on a separate piece of cardboard, cloth or clingfilm, roll out or pat the clay with your hands until it is between 0.5cm (for small items) and 1cm thick (for items larger than 3cm square)
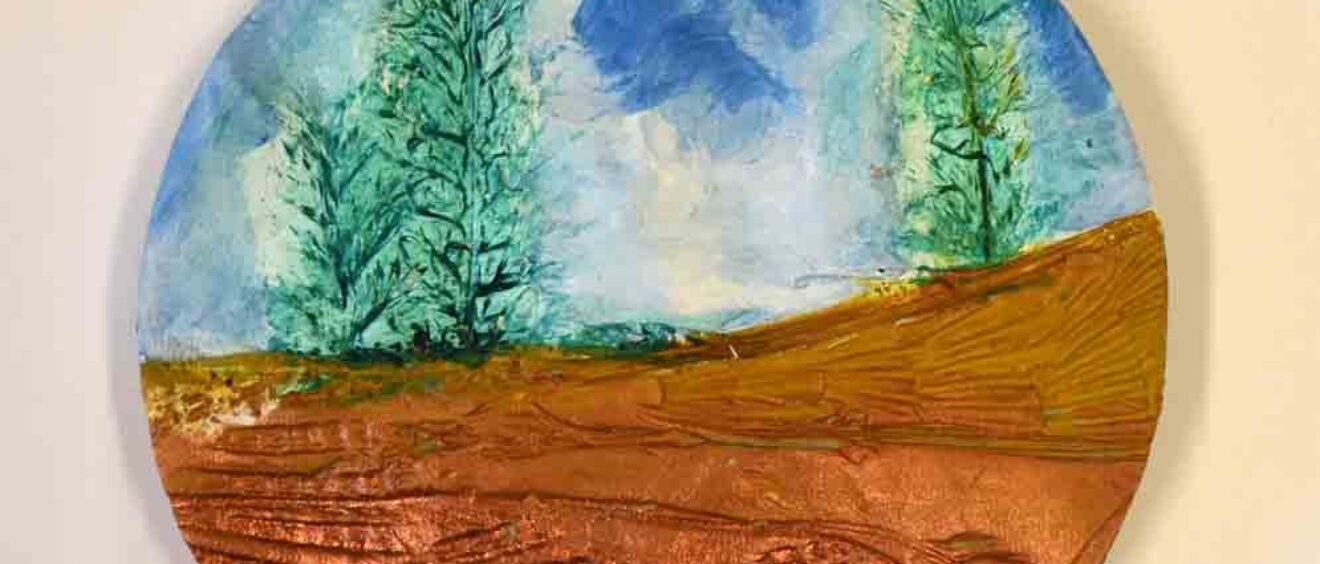
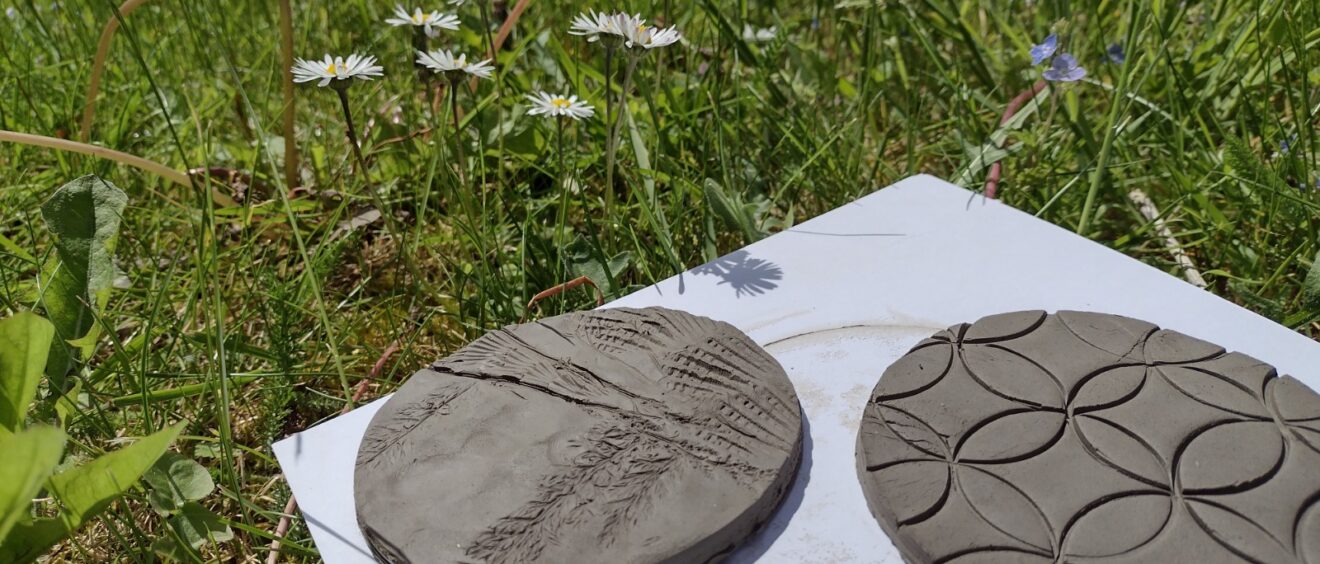
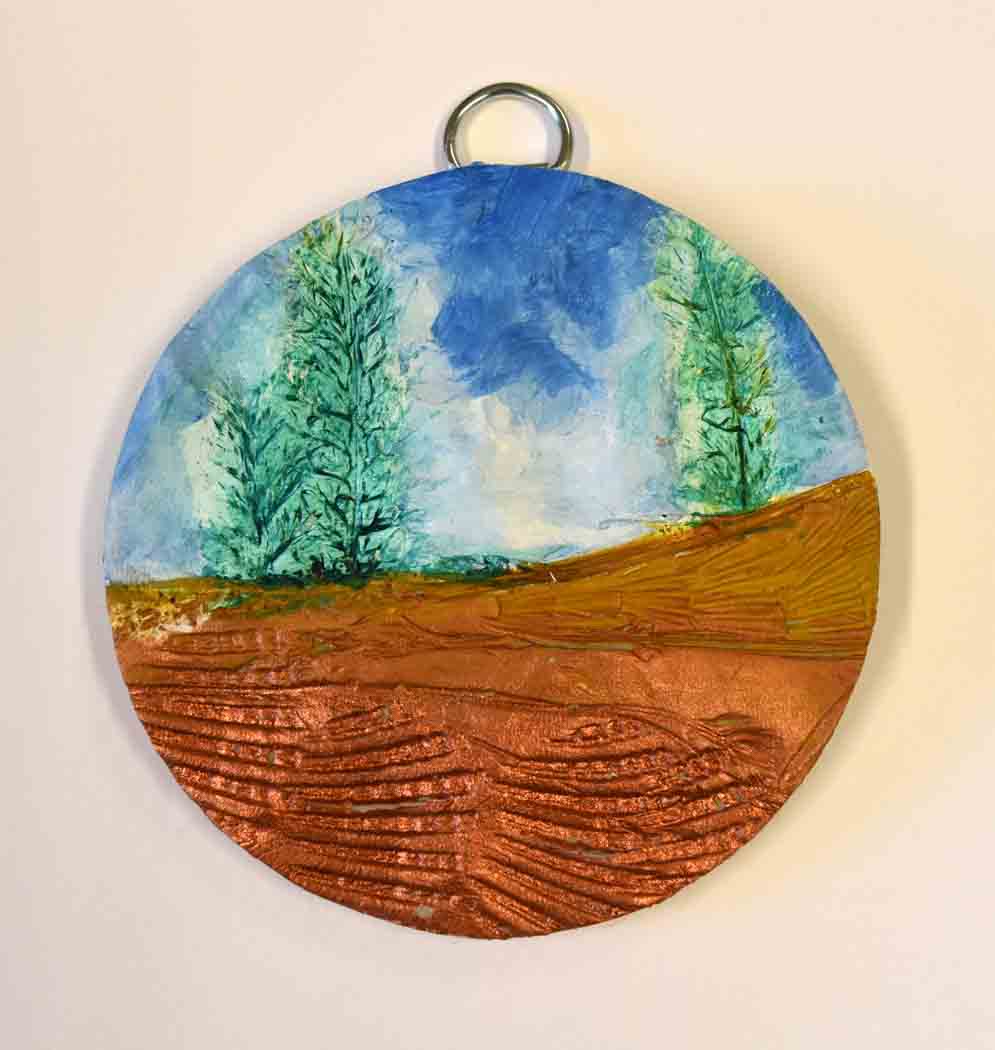
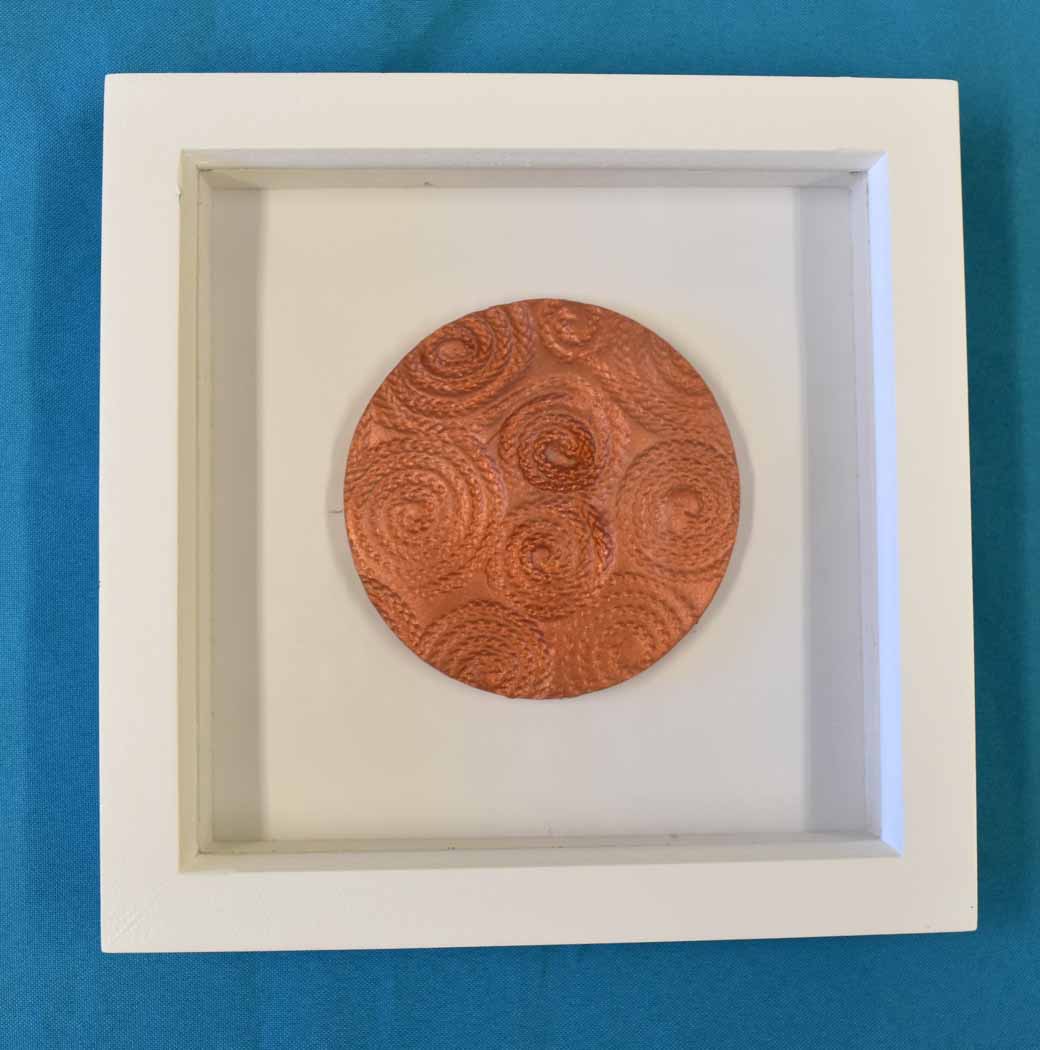
- Press the found objects into the clay – you can choose between making a pattern or making a scene or design
- Experiment and try out some ideas. If you don’t like it, squash the clay up into a ball and start again
- When you’ve finished making the marks, cut to shape (use a knife or cookie cutter and a ruler for straight edges if needed)
- For hanging decorations – make a hole (using a pencil or similar) at the top for the ribbon or string
- Place out of the way to let your work dry. Repeat steps 2 to 7 with the remaining clay.
- AFTER DRYING: You can choose to paint and or varnish the clay (any paint will work). You can also use glue to add a hanging hook or to fix the work into a box frame. (Glue suitable for use with tiles or brick needed or a waterproof wood glue).
Other ideas and tips
ALTERNATIVE – MAKING A PINCH POT
Make the clay into a ball, gently push your thumb into the centre and gently pinch the clay between your thumb and fingers while rotating the ball round. The clay widens out and becomes thinner as you repeat the process. You are aiming for the clay to be the same thickness all round. As before, use the found objects to press designs into the clay while supporting the pinch pot in the palm of your hand.
ALTERNATIVE – MAKING A SIMPLE BOWL (N.B. Not suitable for food use.)
Cover the inside of an existing bowl with clingfilm or a sheet of damp kitchen towel. This will be your ‘mold’. Roll the clay out to about 0.75cm and gently press it into the bowl so that it follows the curve of the mold. Press the found objects into the clay to create a pattern or design. Leave to dry. Paint or varnish to finish.