You will need:
- scissors
- glue stick or double sided tape
- scrap papers, old magazines, recycle cards
- crayons or pencils
- needle & threads (optional)
Instructions
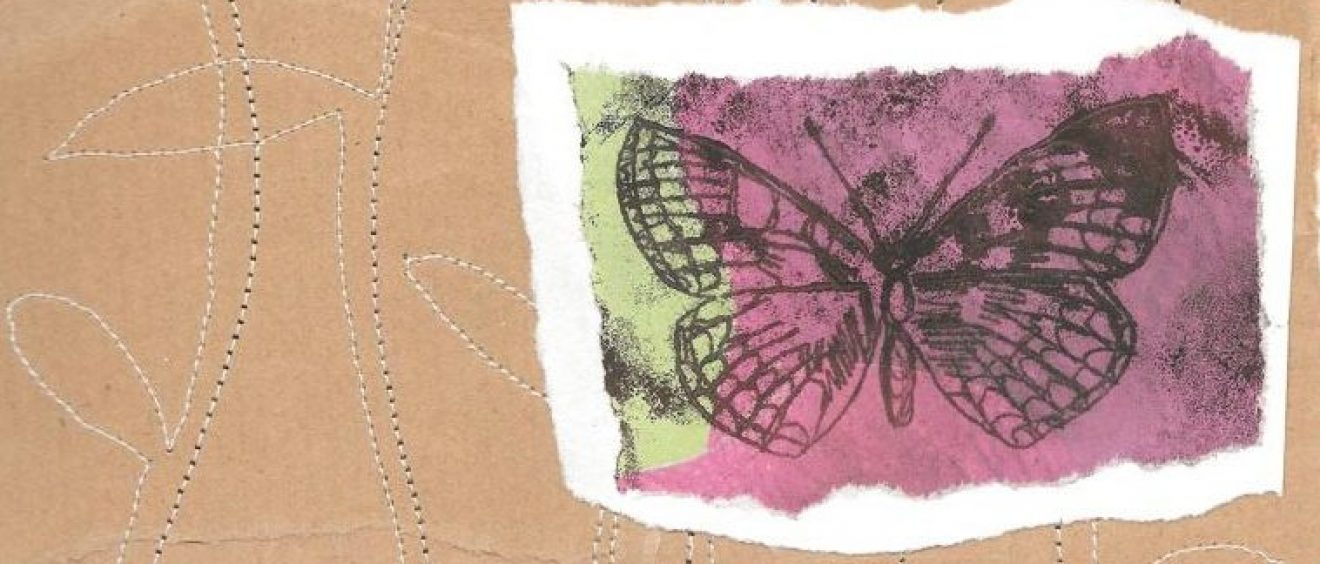
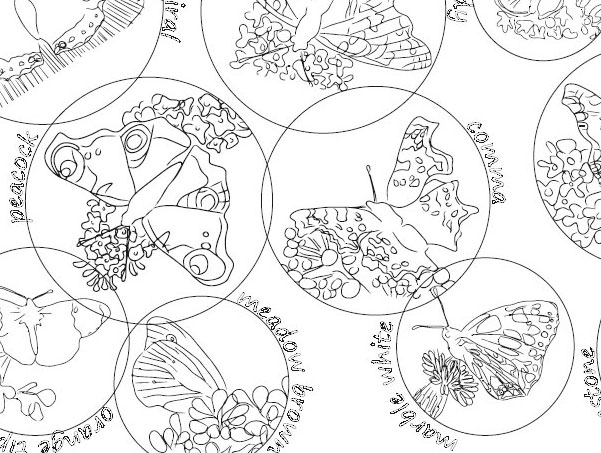
- Using our colouring sheet or SDH Nature book as inspiration, draw an outline shape of a butterfly on a small piece of paper using crayons or pencils. Don’t worry about being too tidy, extra colour or texture adds to your collage effect!
- Select a contrasting piece of scrap paper, cut it out slightly larger than your drawing to create a background mount. Stick these together using glue stick or double sided tape.
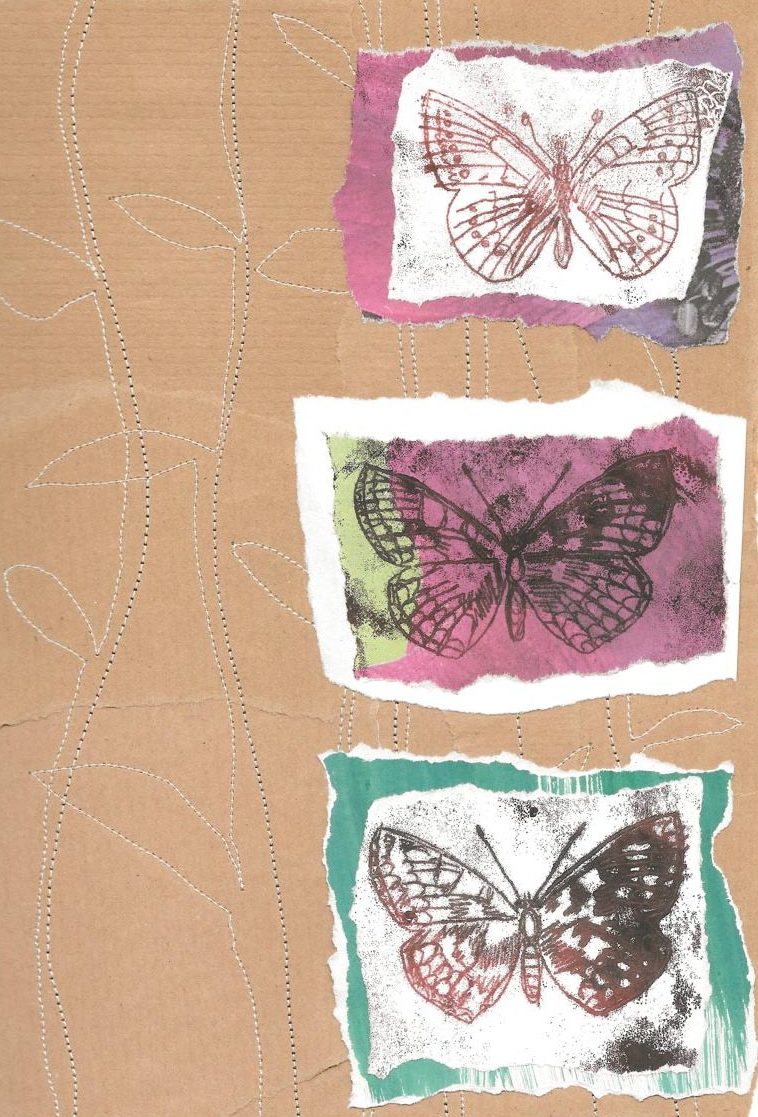
- Repeat 2 or 3 times to build up an interesting composition (main image) don’t stick together your finished pieces until you have tried out different layouts for the best design.
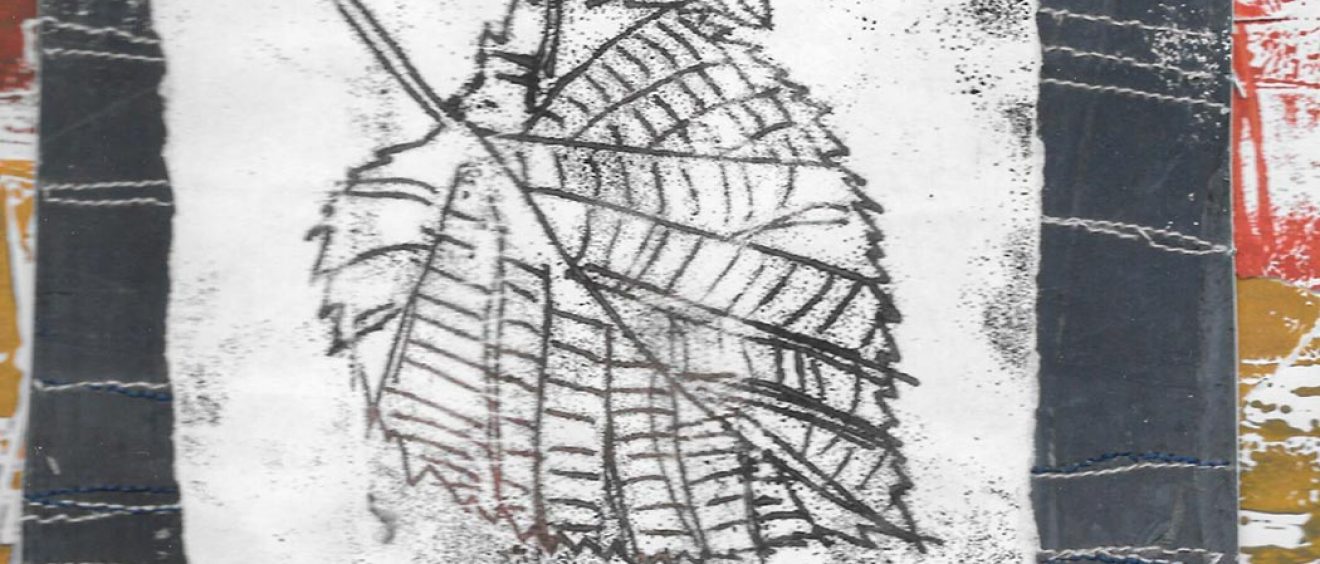
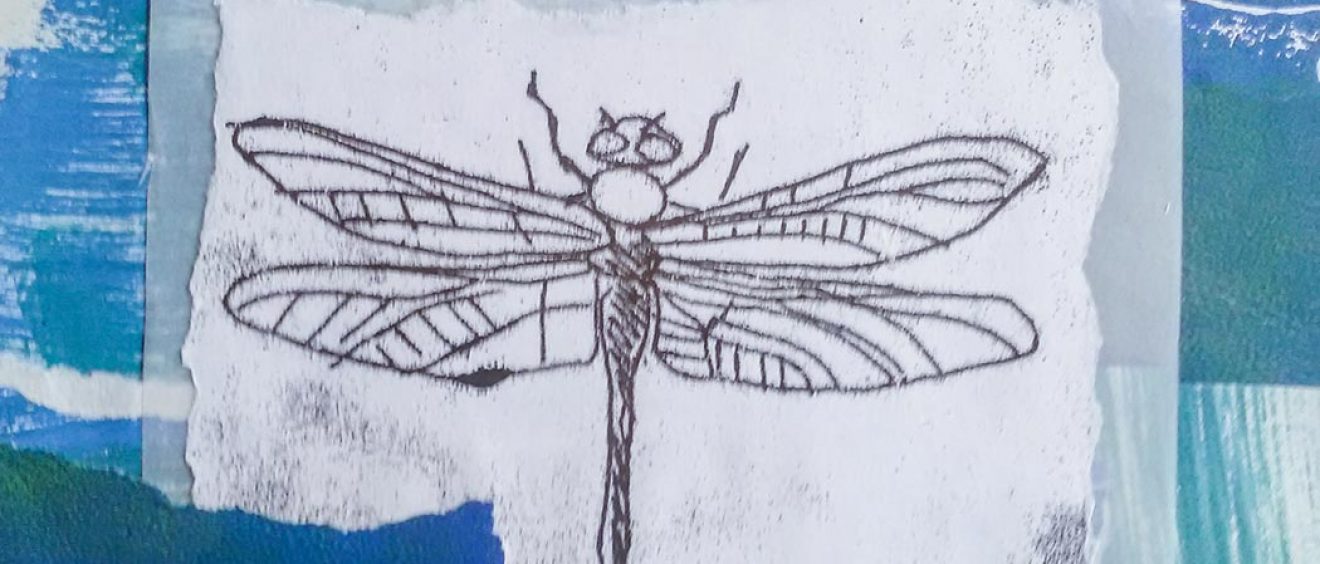
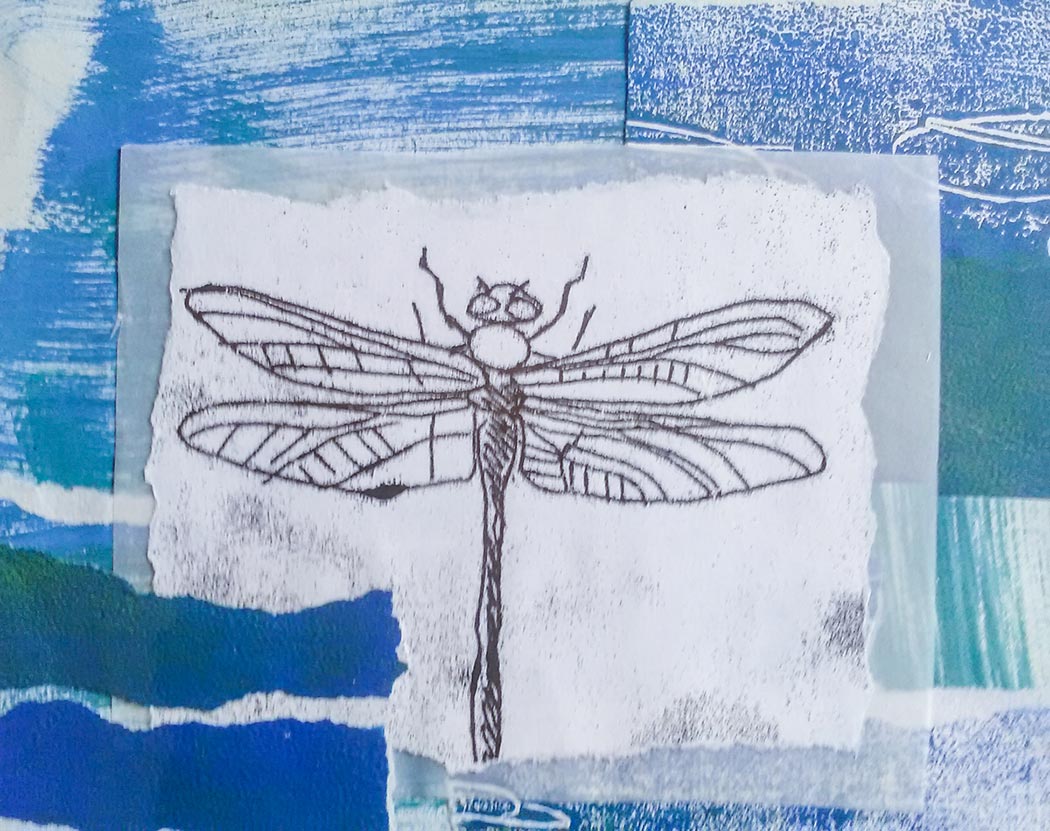
- Try different motifs such as leaves or dragonflies which work well as clear shapes for abstract patterns
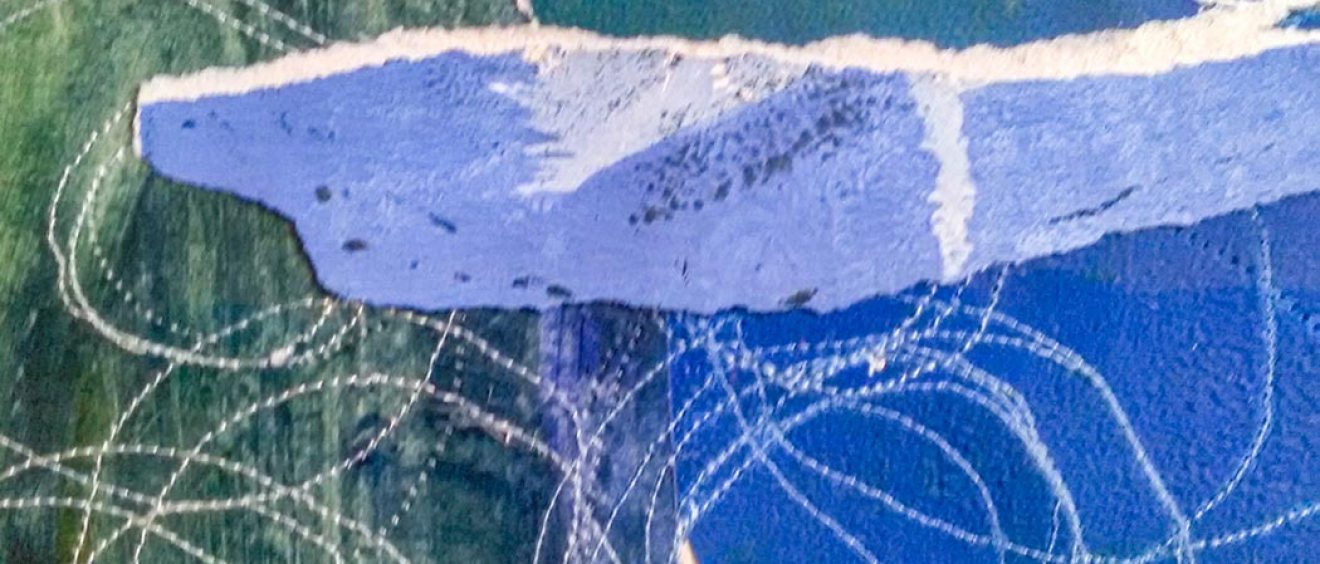
- Optional extra: try some hand stitching to piece together your final design. We used our stitches to add to the overall design by making them stalk and leaf shape/ or circles to look like droplets on the water surface.
Other ideas and tips
- If you are not confident drawing use tracing paper, this paper is also great for a different translucent texture too!
- Try out tearing the paper or contrast it with sharp edge cut from scissors for different effect.
- We only used blues and greens to give the impression of water on the dragonfly image/ or reds and oranges on the leaf image for autumn inspired collage.
- Using a standard pre-cut mount arrange your collage to fit straight into a frame for a gift.
- These collages also make great homemade greetings cards.
- Extend your skills by experimenting further with mixed media collage.
Download instructions
Download collage basics activity sheet (pdf)