You will need
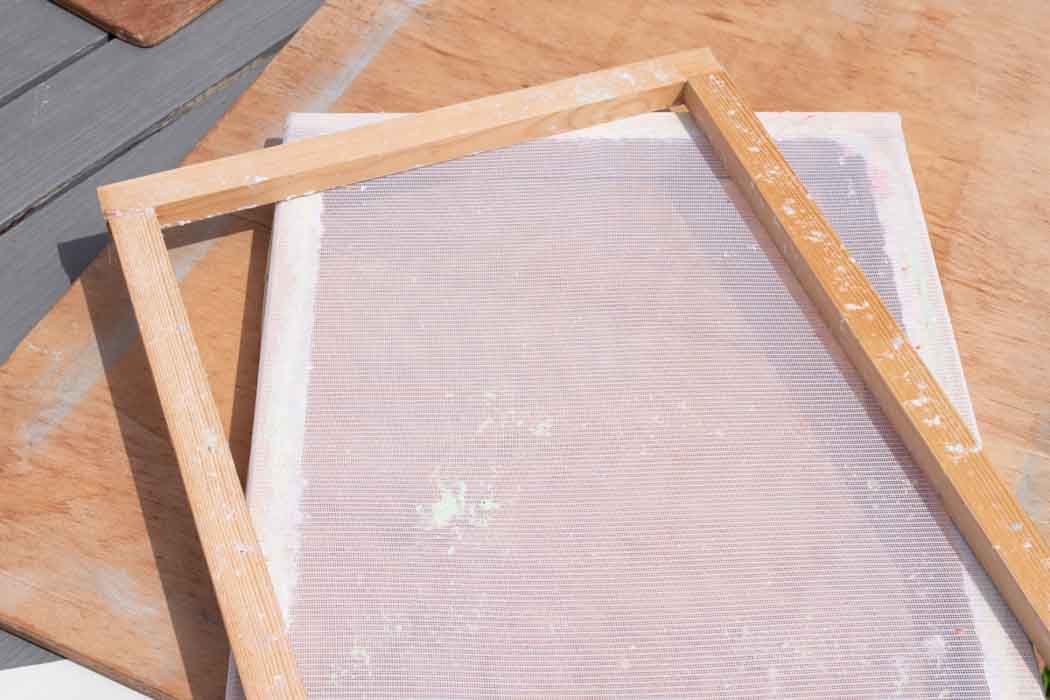
- Frame and deckle
- Two pieces of wood
- Scrap paper
- Water
- Plastic jug
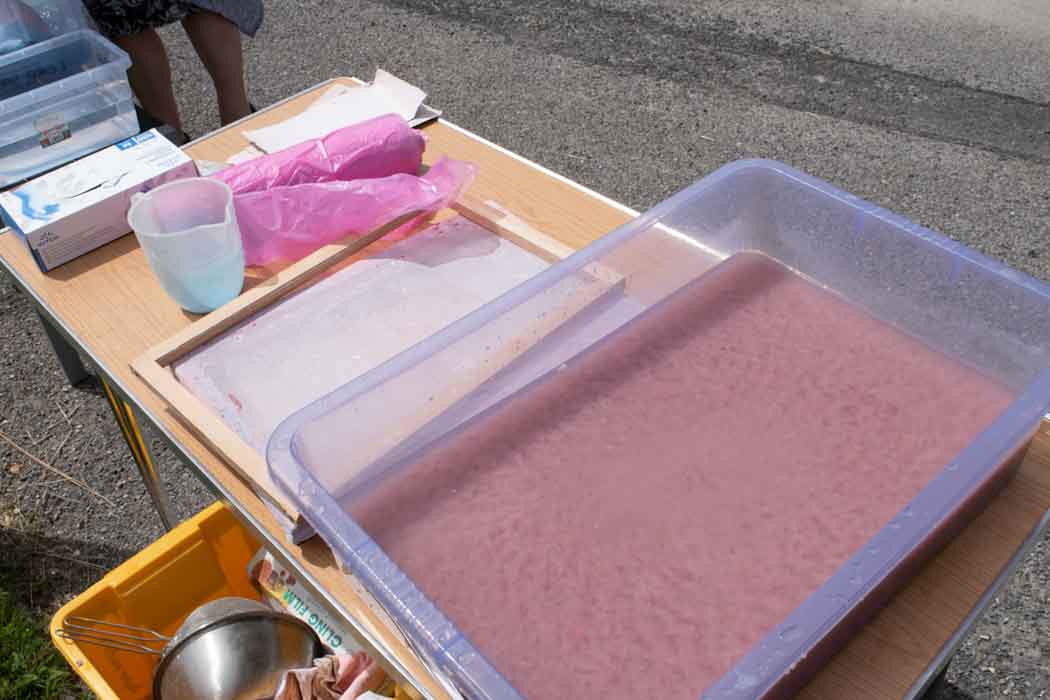
- Washing up bowl or plastic box (big enough to fit deckle & frame into)
- Couching cloths such as J cloths or cotton pieces
- Blender
Notes
- You can use scrap wrapping paper, newsprint, old documents, sugar paper, tissue etc. so long as there is no surface finish such as a gloss or wax – post-it notes and high gloss papers are not suitable. It may be easier to create the pulp if you soak the paper for a minimum of half an hour before blending.
- You may wish to wear gloves to protect your jewellery and to prevent any dyes from staining your hands.
- This process involves a considerable amount of water so be prepared!
Instructions
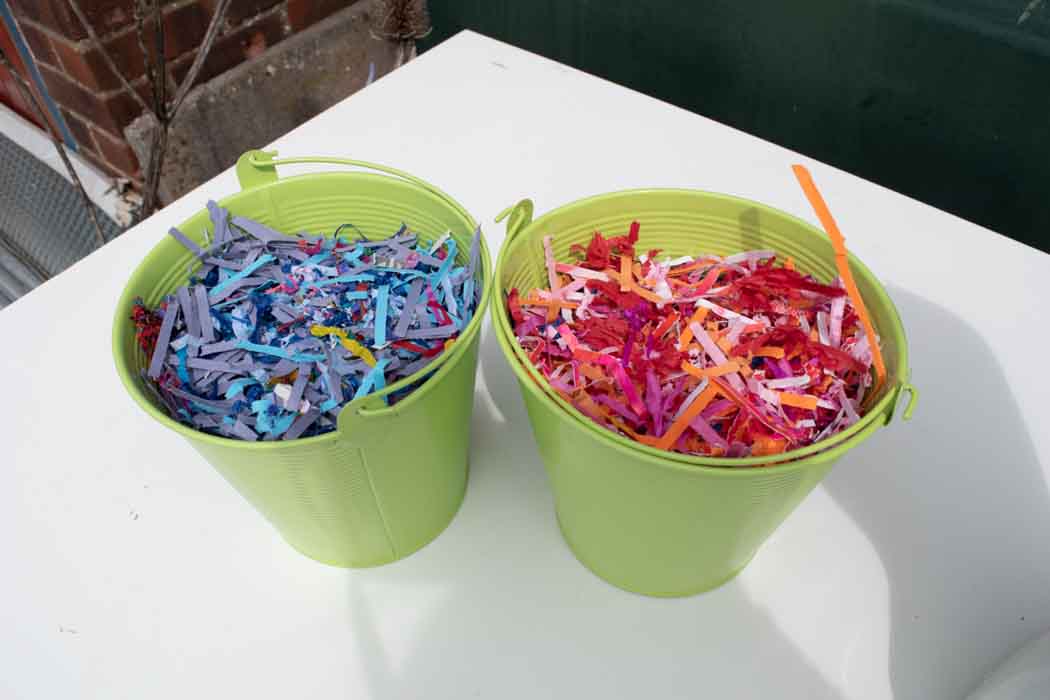
- Select one or two colours of paper and shred or tear into small pieces – about the size of a large postage stamp
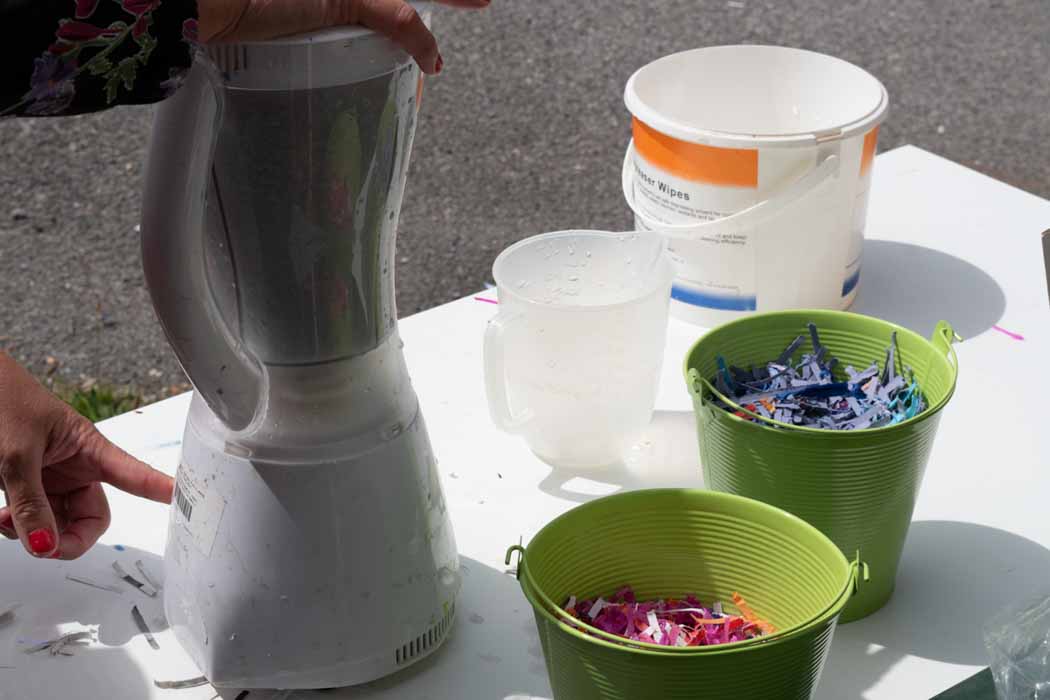
- Being careful not to put your fingers near the sharp blades, put the torn paper into the blender until it is full
Do not push the paper down too hard as this will put strain on the blender
Half fill the blender with water
Replace the lid and switch on
Blend for about 30 seconds until the pulp looks even
Remove the jug from the motor and pour the thick paper pulp into a container
- Add a jug of thick paper pulp to the washing up bowl. For each jug of pulp add three more jugs of water to the bowl. Continue as before until the washing up bowl is half full
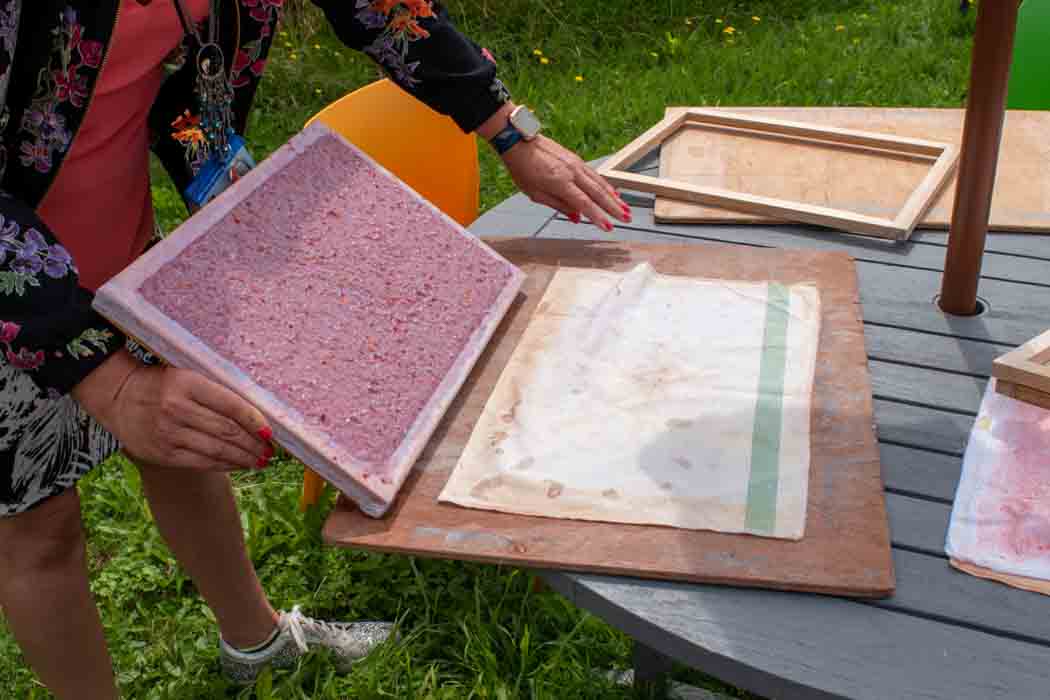
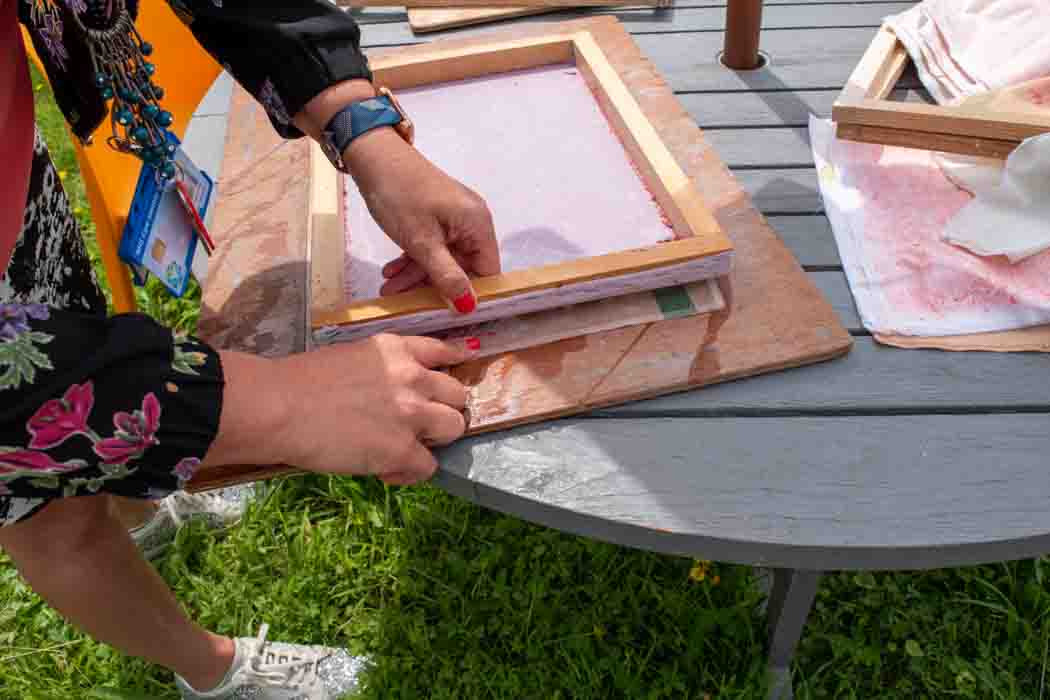
- Lay a couching cloth on top of one of the pieces of wood
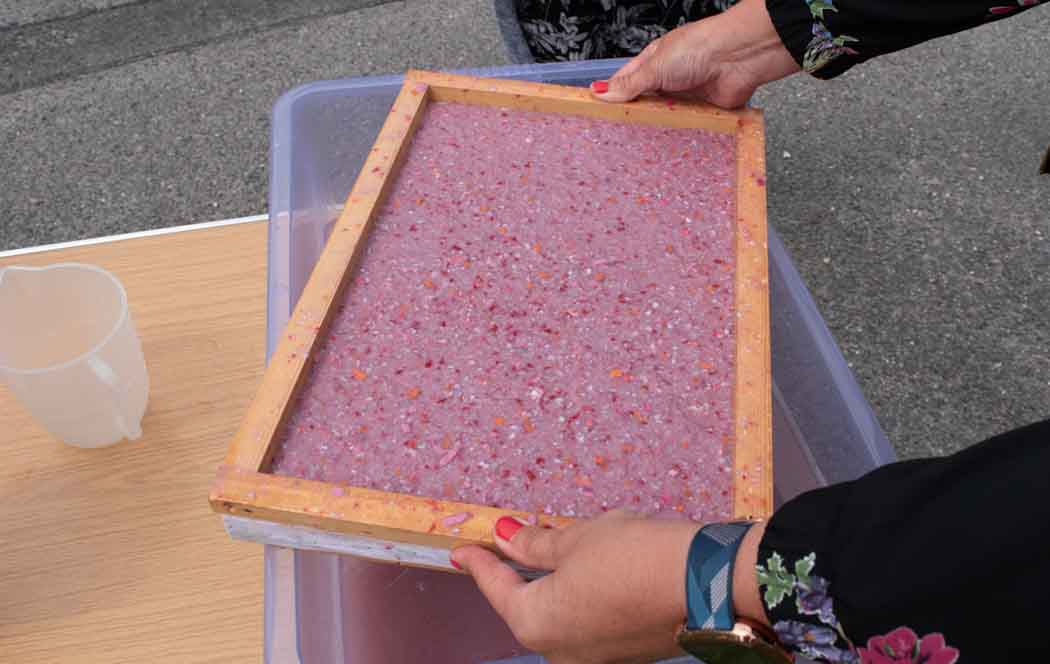
- Hold the deckle and frame level, with the frame on top of the netting surface of the deckle. After a swift stir, submerge the deckle and frame into the bowl allowing the pulp to flow over the top of the frame
- Bring the deckle and frame up, allowing the pulp to settle as the water drains away and then lift the frame off, placing it to one side
- Remove the pulp from the deckle by placing it upside down onto the couching cloth
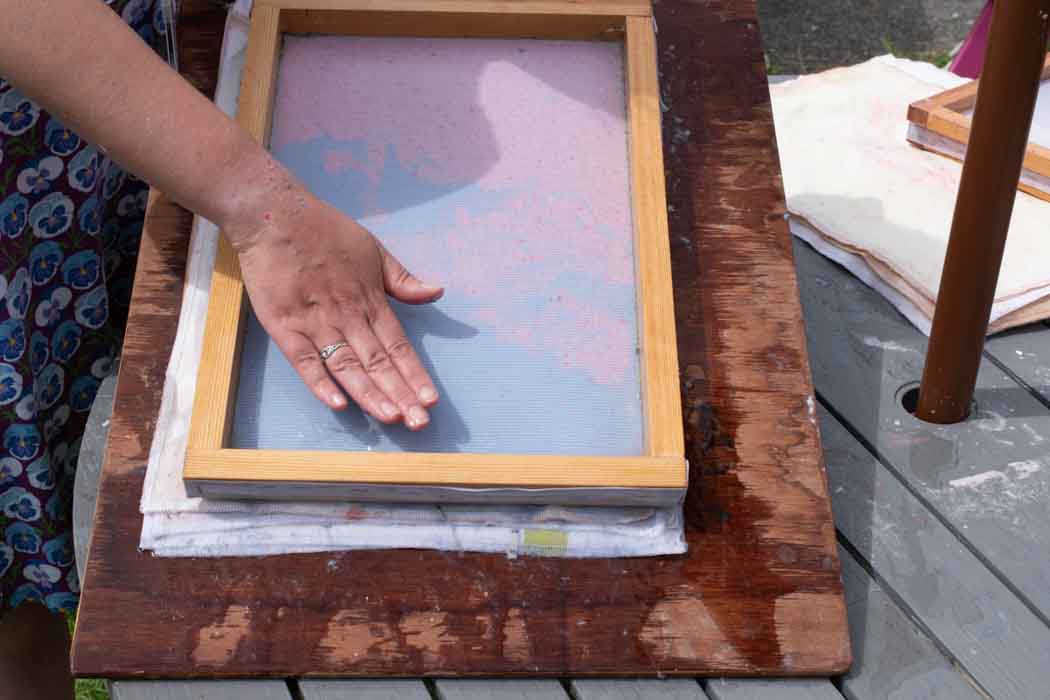
- Squeeze out any surplus water
- Carefully lift the deckle away from the cloth at one edge. You will see the pulp fall away from the netting surface
- Place another cloth on top and continue as for step 5 onwards
The pulp will begin to thin out. When it’s too thin to work with, either add more pulp or ‘strain’ the entire bowl of pulp through the back of the deckle. The strained pulp can then be dried out for storing in small ‘pats’.
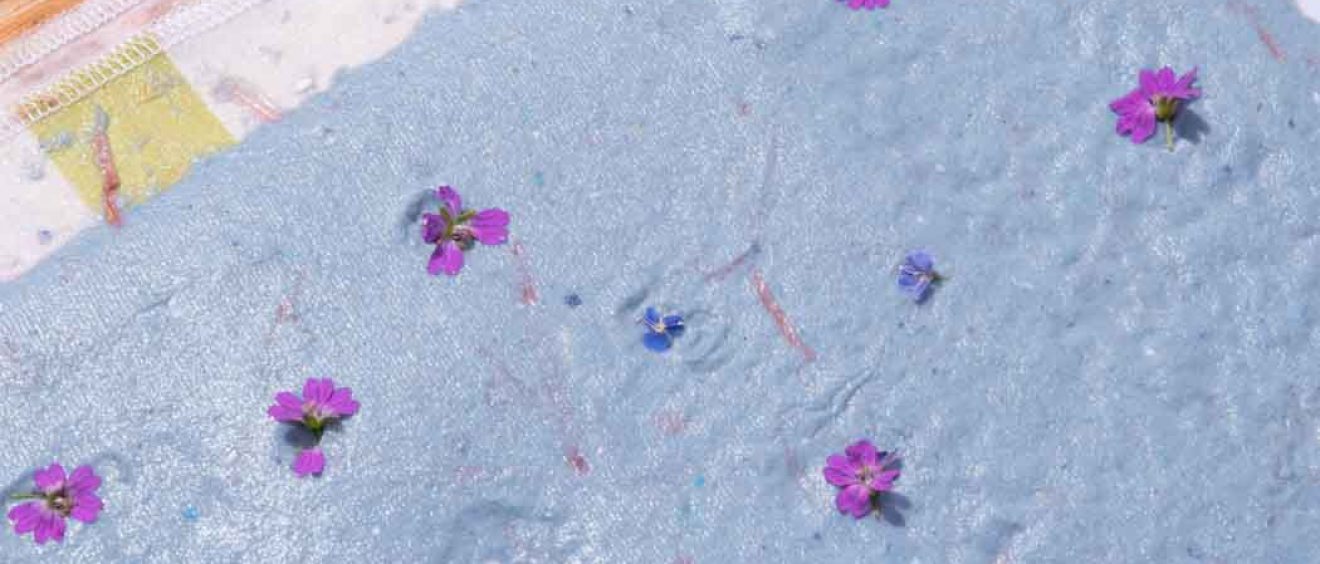
Leave outside to dry or hang on a washing line
Video Guide (no sound)
Other tips and ideas
- Work over the kitchen sink or draining board using a strainer over the plughole to prevent the pulp from blocking the sink, or work outside!
- A shallow tray for catching surplus water
- Paint or inks to stain the pulp
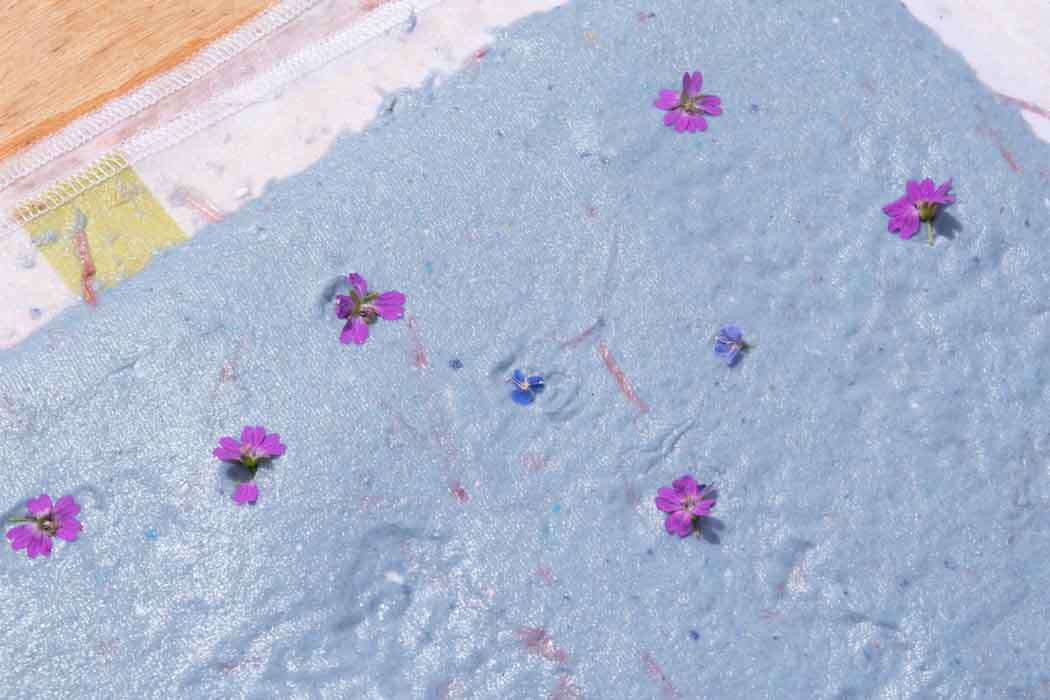
- Glitter, flower petals or other items to sprinkle into the pulp
- Use your finished paper to make a cover for a concertina notebook
Download
Download papermaking instruction sheet (pdf)